Onmyoji Skills
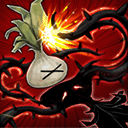
 Fire Fox Shikigami (0-15/15)
Skill Description
Cooldown: 1m
Overheat: 1
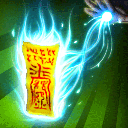
Summon a Fire Fox Shikigami. The summoned Shikigami follows you while automatically attacking nearby enemies. Enemies attacking you will be targeted first by the Shikigami. Additional critical rate applies to your magic Fire-property attacks while the Shikigami is following you.
It is important to note that unless you are a Pyromancer or Psychokino, you do not need this skill at all. For Pyromancer, the skill gives you additional critical rate of +95% for Fire Property attacks at max level 15. For Psychokino, it adds extra Fire Property hits for Psychokino’s Gravity Pole, and increase the range of Psychokino’s Psychic Pressure (allows you to hit more Pyromancer’s Fireballs or Cryomancer’s Ice Wall). You do not need this skill if you do not play Pyromancer or Psychokino because the damage of the Fox summon itself isn’t amazing.
Skill Attributes
 Fire Fox Shikigami: Enhance
Not important since the summon does not do high damage
 Fire Fox Shikigami: Grown Fox
Not important since the summon does not do high damage. It however only have a max level of 1 so might as well add it. The big fox is cute.
 Fire Fox Shikigami: Fire Property
This attribute is what makes Onmyoji a great pair with Psychokino. It increases the range of Psychic Pressure, allowing it to **hit more of Pyromancer’s Fireballs and also allows Cryomancers to hit all 16 Ice Walls for the Psychic Pressure + Ice Wall combo. It also makes Gravity Pole a lot stronger than without the attribute.**The skill’s extra hits does 1.5x more than the normal hit and the entire skill does a total of 20 hits (40 hit in total), essentially making the skill 2.5x stronger.
 Greenwood Shikigami (1/15)
Skill Description
Cooldown: 35s
Overheat: 1
Summon a Tree Shikigami. The summoned Shikigami sprouts from the ground, dealing continuous damage and pulling in nearby enemies. Once fully grown, the Shikigami disappears, slowing down enemies around it. Enemies hit by the Shikigami have their Slow debuff extended by 5 seconds.
This skill is pretty good at CC as it has a slight suction effect. With “Greenwood Shikigami: Poison” attribute, the skill does an additional 9 hits of each hit of the skill factor, thus the total damage output is 200% of the total skill factor of the skill. However, Onmyoji does have pretty tight skill points constraints and other skills tend to be better due to their higher damage or shorter cooldown. Hence, 1 point is usually sufficient just for the suction effect. Take note that the 5s debuff when the skill end also triggers “Sage: Maestro of Dimension” attribute which increases damage of non-property magic by 30%
Skill Attributes
 Greenwood Shikigami: Enhance
Even though you may leave this at level 1, it does have pretty good damage overall and hence it is worth to add it. Do however prioritize other skills.
 Greenwood Shikigami: Poison
Gives the skill additional 9 hits so do max this.
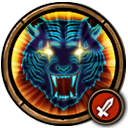
 Howling White Tiger (1-15/15)
Skill Description
Cooldown: 15s
Overheat: 1
Release the roar of the White Tiger (Metal Shikigami) to instill fear in nearby enemies. Enemies affected by the roar receive damage and become struck with [Fear]. Damage increases by 50% on Plant-type enemies.
This skill has probably the bigger AOE in the entire game. It hits almost the entire screen. Coupled with its good damage and short cooldown, it is one of the best skills in the Onmyoji tree. The casting time is much faster than other Onmyoji skills. It also has an attribute that increases you and your party members movement speed by 10 for 10s when it is cast, which is very useful considering that you can use this skill every 15s. Take note that the higher the skill level, the more targets it can hit. Depending on your build, you can add some points or max it.
Skill Attributes
 Howling White Tiger: Enhance
Add this, especially if you the skill level is high. The short cooldown allows you to use the skill often hence you can get great value out of it
 Howling White Tiger: Ferocious
Increases damage to Beast Type enemies by 50% (maxed). Not that important at the start but you can eventually get it.
 Howling White Tiger: Virtuous Roar
The attribute that grants you and your party additional movement speed when you cast the skill. Get it
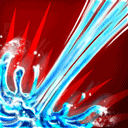 Water Shikigami (0-15/15)
Skill Description
Cooldown: 20s
Overheat: 1
Invoke the power of the Water Shikigami to summon strong water currents and attack your enemies.
The skill has pretty large frontal AOE. It does good damage and have a short cooldown. However, depending on your build, you can choose not to get it or get it high. I do prefer to get it high since you can use this skill often.
Skill Attributes
 Water Shikigami: Enhance
Get this since the skill is pretty strong.
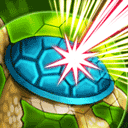 Genbu Armor (0-10/10)
Skill Description
Cooldown: 20s
Overheat: 1
Use the armor of Genbu (Water Shikigami) to generate a protective field. Attacks received consume SP instead of HP. If you are low on SP, the protective field disappears. Does not stack with Magic Shield. SP does not restore naturally while the skill is in use. Chance of neutralizing Ice-property attacks
Generally people use this more for PVP. In PVE, it can deplete your SP pretty fast and considering that a lot of skills nowadays use a lot of SP, this skill isn’t a very popular pick for PVE focused builds. Even if you do max it, it is hard to keep casting it as it is hard to maintain the high SP that is required
Skill Attributes
 Genbu Armor: Flowing River
Reduce the SP consumption by 10% (maxed). Get this if you decide to add the skill
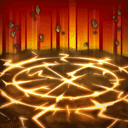 Toyou: (1-10/10)
Skill Description
Cooldown: 20s
Overheat: 1
Invoke the power of the Earth Shikigami and unleash its force on the ground below your enemies, dealing damage. Knocked down enemies receive half the damage, but have a chance of being immobilized.
The skill has a very big AOE and short cooldown, doing a total of 5 hits. It however, only have a 50% hit chance against flying enemies with attribute. It does have a 10% chance to inflict [Hold] on fallen enemies which can trigger “Sage: Maestro of Dimension”, but the chance is very low so I wouldn’t depend on it.
Skill Attributes
 Toyou: Enhance
Get this as the skill is strong and has short cooldown.
 Toyou: Debris
Allows a 50% (maxed) chance per hit to hit flying enemies. Max this.
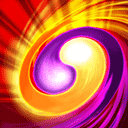 Yin Yang Harmony (5/5)
Skill Description
Cooldown: 1m
Overheat: 1
Generates a strong energy from the harmony of Yin and Yang, which deals quick, alternating blows of Dark (Yin) and Holy (Yang) property damage. Casting of the skill cannot be interrupted, and the caster remains immune to knockback and knockdown while Yin and Yang are in harmony.
The strongest skill in the tree. It has a very large AOE and does high damage. It does around 40 x skill factor making it very strong. It however has a high cooldown. The skill has an attribute that boosts Holy and Dark Property attacks by 20% for a duration depending on the attribute level, hence giving it synergies with Dark-focused classes such as Warlock and Shadowmancer.
Skill Description
 Yin Yang Harmony: Enhance
Get this high as it is your strongest skill.
 Ying Yang Harmony: Mediator
Add this if you pair Onmyoji with classes that do Dark Property damage (20% more damage)The buff lasts longer as the attribute level is higher. At maxed level the buff lasts for 50s. This attribute is pretty expensive to max so do it when you have a lot more silver on hand to spare
Onmyoji has the best AOE in the game. It however do not do that well against bosses as the skills are suited for AOE combat such as Challenge Modes. Onmyoji also do have good synergy with various classes that makes it popular. If you are looking for a class to kill up the gaps in the AOE department, Onmyoji is a good choice to bet on.

 Rod Mastery
 Energy Bolt (0-1/5)
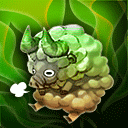 Lethargy (0-5/5)
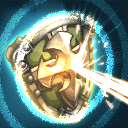 Magic Shield (0-5/5)
 Earthquake (0-1/5)
 Magic Missile (5/5)
 Teleportation: (0-5/5)

 Staff Mastery: Fire
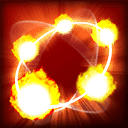 Fireball (0-15/15)
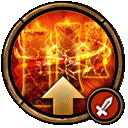 Fire Wall (1/15)
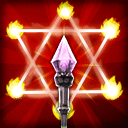 Enchant Fire (0-15/15)
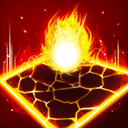 Flame Ground (1-15/15)
 Fire Pillar (10/10)
 Hell Breath (10/10)
 Prominence: (5/5)

 Rod Mastery: Ice
 Shield Mastery: Cryomancer
 Cryomancer: Freeze Specialty
 Ice Bolt (1/15)
 Ice Pike (1-15/15)
 Ice Wall (0-15/15)
 Ice Blast (10/10)
 Subzero Shield (0-10/10)
 Snow Rolling (0-10/10)
 Frost Pillar (5/5)


 Psychokino: Teleportation
 Psychic Pressure (1-15/15)
 Swap (0-??/15)
 Magnetic Force (1/15)
 Heavy Gravity (10/10)
 Raise (10/10)
 Gravity Pole (5/5)


 Tincturing: Block Potion
 Combustion (0-15/15)
 Dig (0/15)
 Item Awakening (1/1)
 Tincturing (15/15)
 Alchemistic Missile (0-15/15)
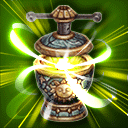 Magnum Opus (0-5/5)
 Gem Roasting (10/10)
 Sprinkle HP Potion
 Sprinkle SP Potion


 Sorcerer: SP Recovery
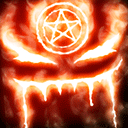 Summoning (15/15)
 Summon Familiar (0-8/15)
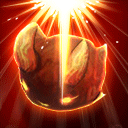 Summon Salamion (0-8/15)
 Summon Servant (5/5)
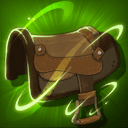 Riding (1/1)
 Morph (1/1)
 Desmodus (10/10)
 Evocation (5/5)
 Reincarnate (1-15/15)
 Stop (1-15/15)
 Slow (0-15/15)
 Time Forward (0/15)
 Backmasking (1-10/10)
 Quick Cast (0-5/5)
 Pass (5/5)


 Necromancer: Enhanced Corruption
 Necromancer: Corpse Fragment Capacity
 Gather Corpse (0/1)
 Create Shoggoth (5/5)
 Flesh Hoop (15/15)
 Raise Dead (0-5/5)
 Disinter (0-1/1)
 Corpse Tower (1-10/10)
 Flesh Cannon (10/10)
 Raise Skull Archer (0-5/5)
 Raise Skull Mage (0-5/5)

 Elementalist: Resistance
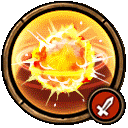 Fire Property: Amplify
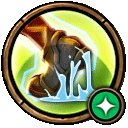 Ice Property: Slow
 Electrocute (0-15/15)
 Hail (1-15/15)
 Storm Dust (0-15)
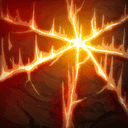 Fire Claw (1-15/15)
 Elemental Essence (10/10)
 Stone Curse (0-10/10)
 Meteor (5/5)

 Sage: Maestro of Dimension
 Portal (1/15)
 Micro Dimension (15/15)
 Ultimate Dimension (1-15/15)
 Blink (1/15)
 Missile Hole (1-10/10)
 Portal Shop (1/1)
 Dimension Compression (1-10/10)
 Hole of Darkness (1-5/5)
 Warlock: Darkness
 Darkness Fear
 Invocation (15/15)
 Dark Theurge (1-3/15)
 Evil Sacrifice (1/1)
 Ghastly Trail (1/15)
 Pole of Agony (10/10)
 Mastema (10/10)
 Demon Scratch (5/5)
 Featherfoot: Increased Recovery
 Featherfoot: Witch Doctor
 Blood Bath (1-5/15)
 Blood Sucking (1-5/15)
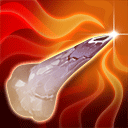 Bone Pointing (1-5/15)
 Ngadhundi (1-5/15)
 Kurdaitcha (10/10)
 Kundela Slash (10/10)
 Levitation (1/1)
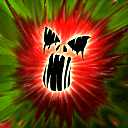 Blood Curse (10/10)
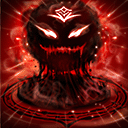 Enervation (5/5)


 Runecaster: Skilled Casting
 Rune of Ice (1-15/15)
 Rune of Giants (1/15)
 Rune of Justice (15/15)
 Rune of Protection (1/10)
 Rune of Destruction: (10/10)
 Rune of Rock (5/5)


 Shadow Thorn (15/15)
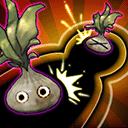 Shadow Conjuration (1-15/15)
 Shadow Pool (1/5)
 Hallucination (1/15)
 Shadow Condensation (10/10)
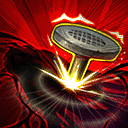 Shadow Fetter (0-10/10)
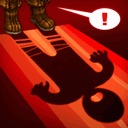 Shadow Fetter (5/5)


 Begone Demon (0/15)
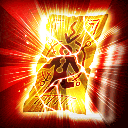 Creeping Death Charm (15/15)
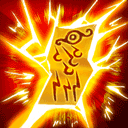 Lightning Charm (1/1)
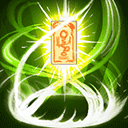 Upper Level (1/1)
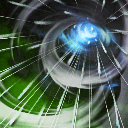 Storm Calling (10/10)
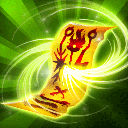 Tri-Disaster Charm (10/10)
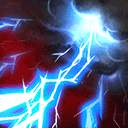 Divine Punishment (0-3/10)
 Eradication (5/5)

 Hexing (1-15/15)
 Effigy (1-15/15)
 Zombify (1-15/15)
 Mackangdal (0/10)
 Bwa Kamiyan (1/10)
 Samediveve (5/5)
 Damballa (5/5)