Aria Academy for Tree of Savior guides
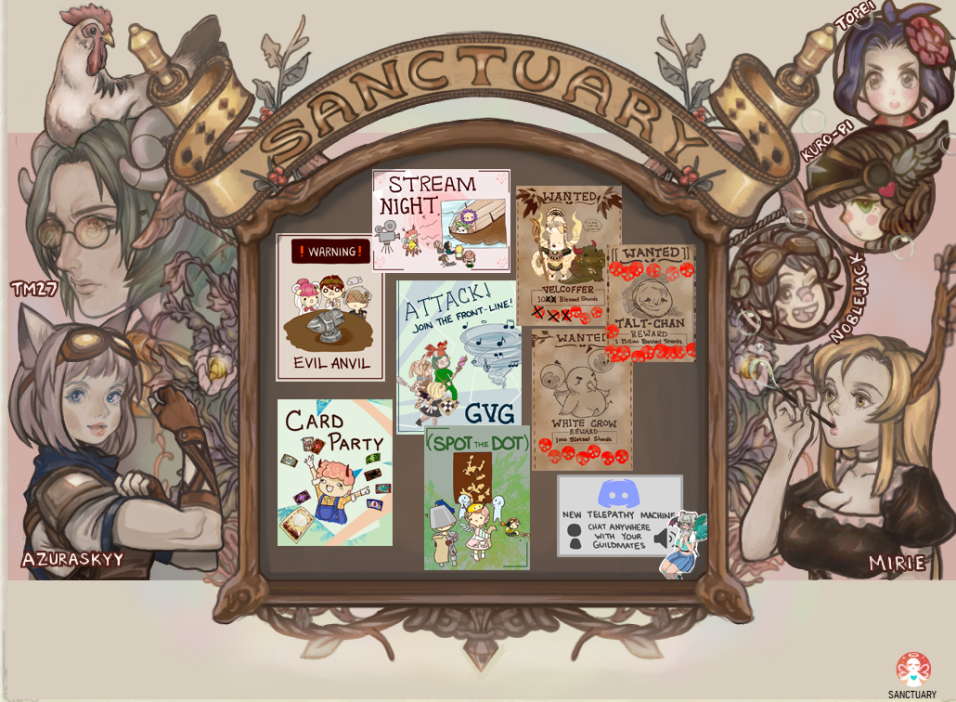
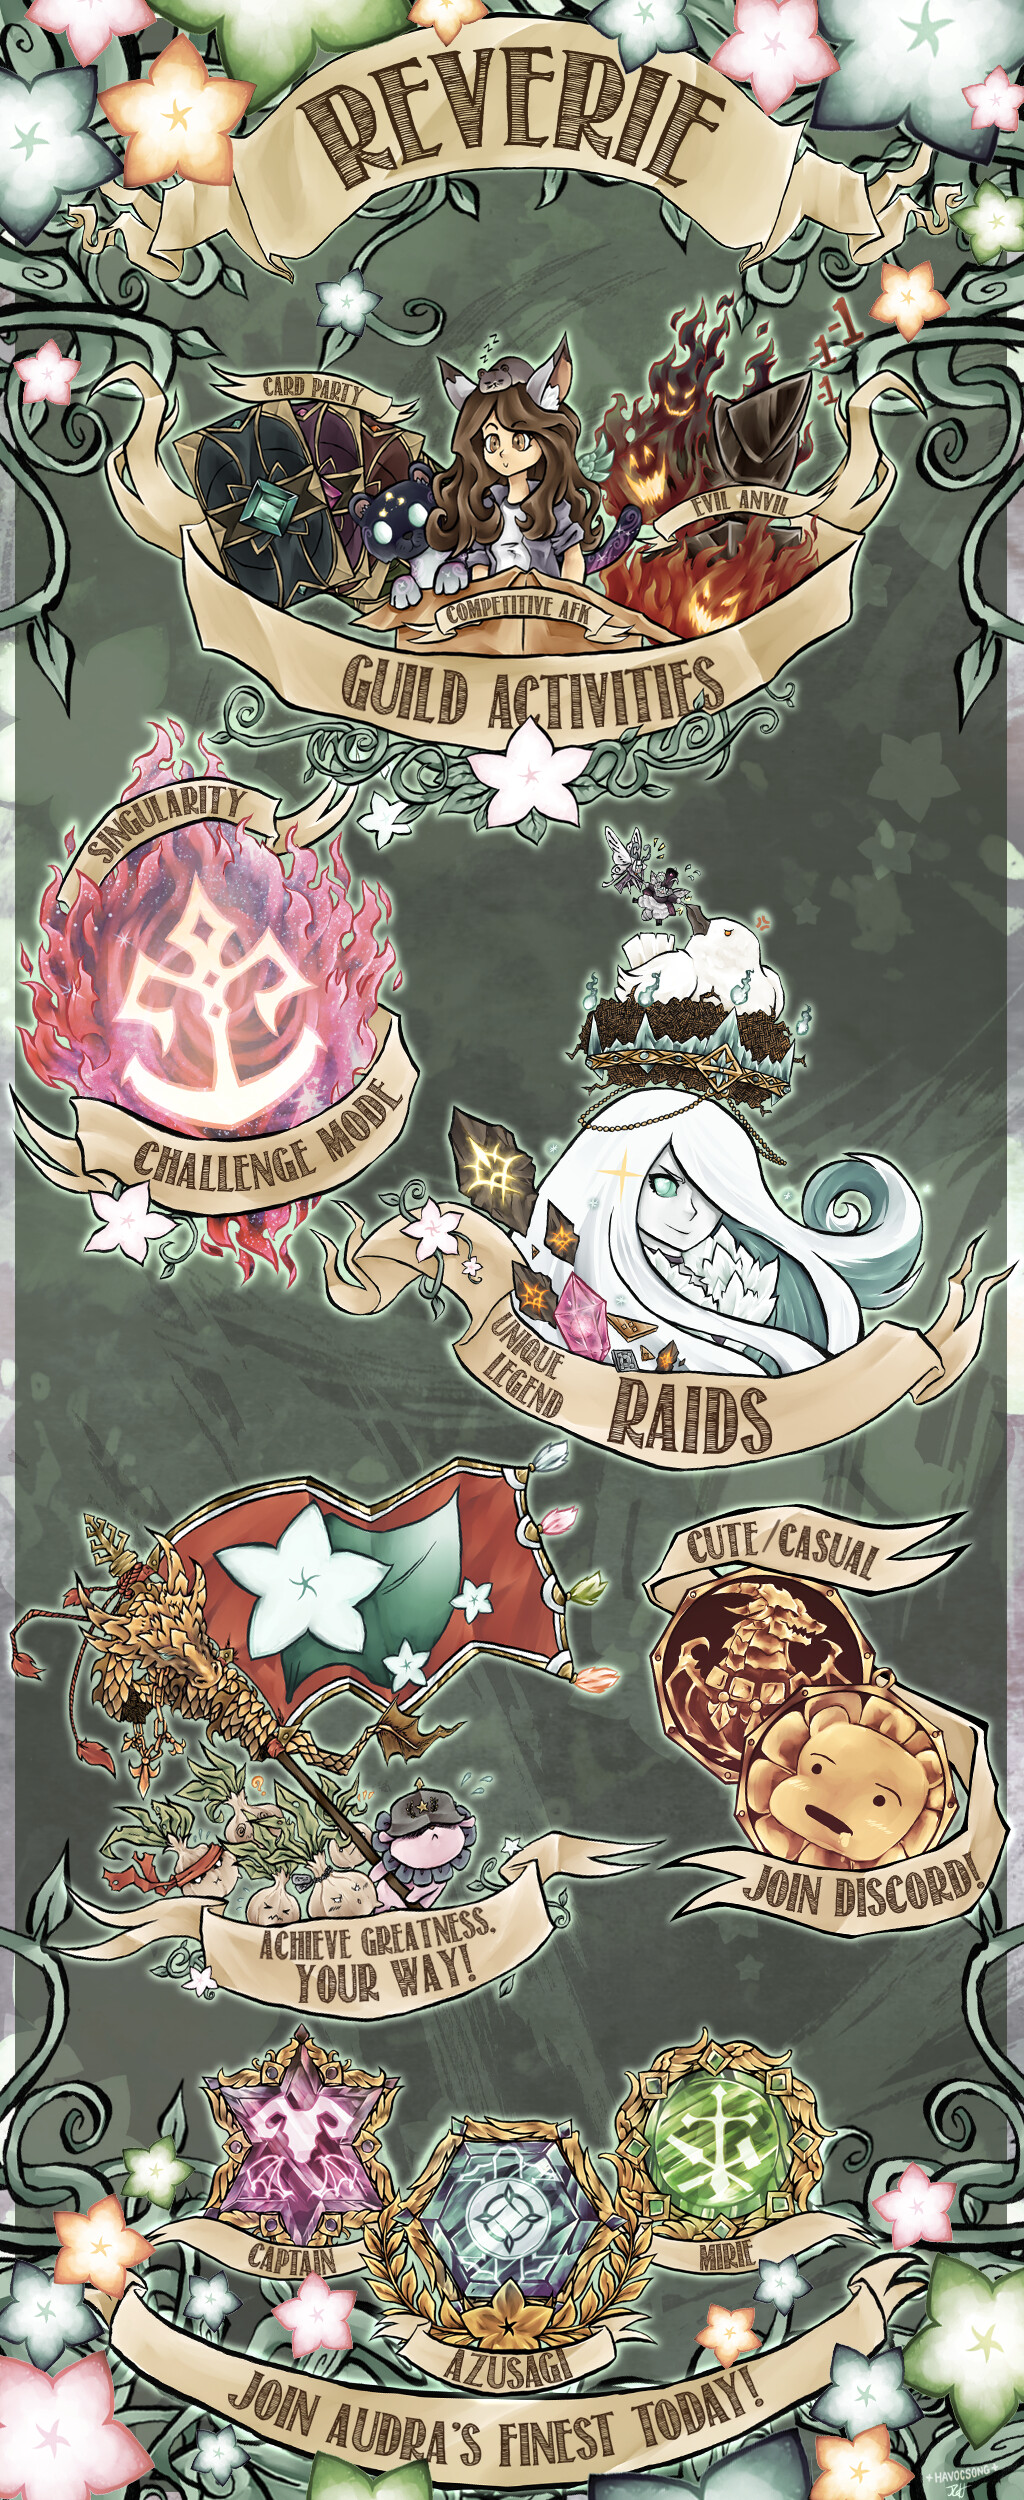
Thanks for everything Reverie


Very nice guide. Some slightly outdated parts: for example, Irredian Shelter now has portals always open, Misrus doesn’t drop Arch Stones Fragments anymore, Thierrynium can be dropped from Singu.
Can you do something like that:
I’ll update the Irredian to mention always open portals. Thank you.
I am operating on this patch note for the information on arch stone drops and singu (nd my own experience for the latter).
I think I could find a spot to list all daily/weekly and which content is reset- just noticed I also never mentioned server reset time or maintenance which would be nice for new players to know.
I just came back to the game this week after many years, and seeing a post like this is surely a help to understand everything that is new.
But, as also someone who just came back, the amount of items is quite overwhelming and took me a while to figure out how the progression should be. A gear progression mini-guide with what kind of content the player will be able to do would help since you basically get stuck in a huge wall once reaching ep11 and savinose set.
It follows like this:
Do every main quest, get set and weapon at ep11 and sit there because you have no silver or gear to do any of the contents mentioned above, except the outdated ones that give no reward whatsoever.
What I’ve been doing those last 3 or whatever days since I came back is farming some CMs, outerwall in specific, and so far I only managed to buy some ignas ichor for my savinose set. From here, the gap is so huge that there’s no telling on where someone should go, (although, I figured out already by looking at the items list).
Basically what I’m saying is that 3/4 of the things you mentioned there are just going to cause confusion to people when there’s nothing telling them if it matters if they do the content or not, or what they should do. Although, thanks for the guide
Here’s my mini-guide for a new player:
At this point, if you have done one CM per day, you should be standing on 100-200 mil silver, enough mercenary badges to buy accessories (Carnas), Master cards and CM vouchers daily from the shop (plus things like enchant jewels), enough nucle to enhance your free Ark, AP and mystic pages up the wazoo from events to improve your attributes. Your Savinose equipment along with those boosts is good enough to start working on the next tier.
this game much easier if u have fix party to play , it is hard play with random people or Solo for future progress
That’s with any mmorpg with endgame raids to be honest. The problem with ToS, though, is that they basically throw you into the endgame with nothing but a basic gear, with progression time-gated, and there’s nothing else besides endgame raids and CM. So there’s no option other than waiting day by day or hope you can find a good soul to carry you through content.
The post above mentions CM, but CMs for a new player are far from a walk in the park if you’re farming for silver and going to cm7, they take quite a while each run and you have to drink potions like a madman. Also, market isn’t open for 7 days -even for me after coming back- so you don’t have potions either, besides the ones from login which are 20 or so. CM also requires entries which requires merc badges, which requires uphill, which you can’t do unless you’re getting carried. So, realistically you’re doing 1 run per day, maybe 2 with what you farm from field.
I’m not complaining though, I’m just trying to give a more realistic view to people, because doing any content besides the outdated ones unless you’re getting carried, is not realistic at all, and that’s for a while. The first weeks are just a waiting game, making new characters or whatever to not get bored.
I’m taking this feedback seriously and want to address it in the initial post with a rough guide to gear progression. First step is going to be making a new team and seeing what silver can be accumulated by the time Episode 12 drops you in the real world.
You aren’t wrong. The game is in an awkward place until Episode 12 rewards are given (Savi Dysnai gear at low trans/enhance). The question is something like- do I make Varna and set effect it so I’m not worthless in content or make a build that can get by on lower gear in CM spam like Hunter/Falc/App. I don’t think the latter is a reasonable solution but I’m not confident the first will set anyone up for success either.
Anyway, in the near future you can expect some kind of suggested path for post questing based on the experience of a player going through the quests with nothing but Kedoran gear. I know people are tired of being told by everyone with 8 Arch Stones under their belt how they should manage in Savi.
EDIT: Added Assister Cards/Dungeon/CM info and reorganized Index. Some information has been shifted down a post due to exceeded post size limit
This needs to be stickied.
Initial post has been updated with a gearing recommendation. @Yukise I did not end up running through the Episodes again to accumulate silver for a base as returning players would not necessarily have this silver handy and even new players may blow silver on their way to Episode 12.
The answer isn’t a miracle and it aint sexy but I have guildies showing me how it is done without my direction so I know it works.
Joint Strike info and more detailed descriptions for each Ark’s effect coming in the near future.
Good luck out there saviors!
I am currently updating the guide for current patch 13-1. Please stand by for another post to acknowledge changes.
Archiving content that lost relevancy but was part of the guide. While this content was not removed, it is obsolete and should not be pursued. It is now eating up too much of the post character limit but I want the information to be available for the sake of Tree’s history.


Rykuma
Korup
Apsauga
Bendrinti
Goduma
Gymas
Smugis


Aqkrova
Skidas
Atagal


Ataka
Proverbs
Liris
Thanks for all your hard work! 
Updated the guide with missing Episode 13 information.
Apologies for any inaccuracies in the Goddess Card section as I’m working off of sketchy google translate from the original ktos update post. I’m positive that the required reputation stages for each area are correctly listed in my guide and will look to update any discrepancies as more information is made available.
Sorry for the delay.
i think if your aim is luciferie, starting from incomplete kara will cost you more than starting with complete kara. But if you never aim for luciferie, incomplete kara set is cost-efficient enough.
I think you can split this guide in 2 as it’s almost a guide on everything and the scope might be too big. I’d make the cutoff at around finishing the upgrades on the equipment from EP12.
Agree on that there should be info on what’s daily, what’s weekly/monthly, and their reset time.
I have a couple tips I figured out during the long boring grind to EP12.