2. Possible Loot
After completing the raid, you’ll receive a Skiaclipse Feather (either one or two depending your luck) and Attribute Points: 1000 or Mystic Tome (one or the other, again, depending on your luck). You may also get really lucky and drop a completed piece of armor, weapon, or cosmetics!
Picture of the cosmetics
Varnaclipse Helmet Costume
Varnaclipse Costume
You can also re-roll the golden bonus cube in this raid to gain more chances at feathers or completed equipment using silver. The first re-roll costs XXX and the second re-roll costs XXX, making the grand total for one full re-roll XXX.
- If you want to re-roll, bring the money with you before the raid starts - you won’t lose any money if you die, but you will lose gems, so keep that in mind!
- I highly recommend that you do both re-rolls since the first re-roll is more expensive than the second re-roll by a significant amount
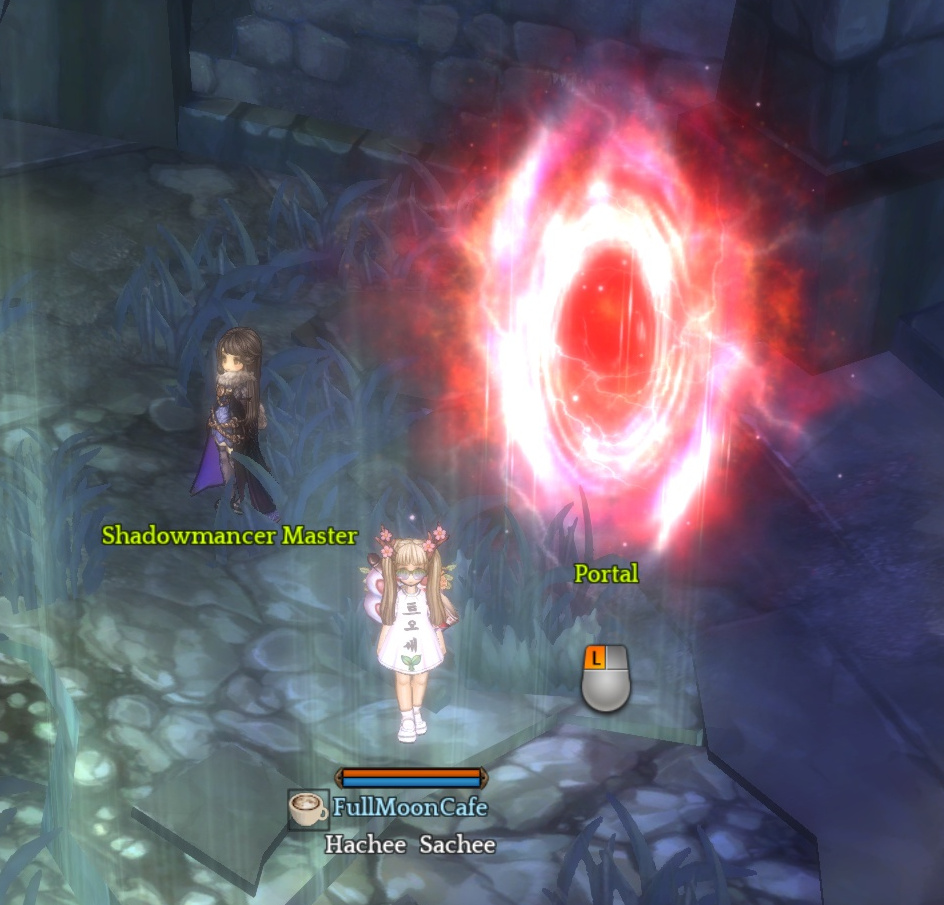
Head to the Blacksmith Teliavelis in Fedimian with the feathers you got along with some planium (another legend material) so you can make your Skiaclipse Varna equipment.
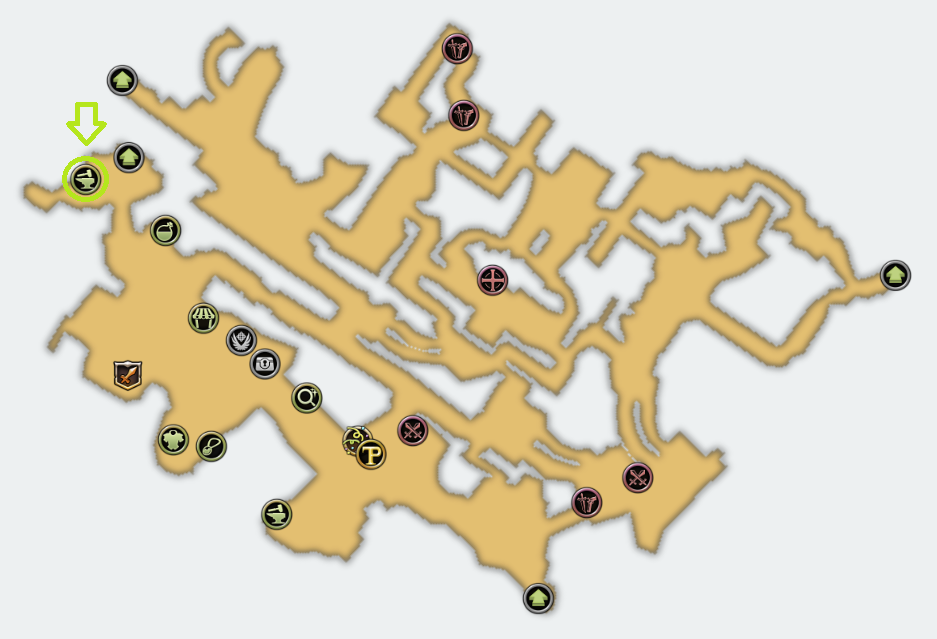
Where is Blacksmith Teliavelis?
Cost for weapon/shield/trinket: 19 skiaclipse feathers and 3 planiums
Cost for equipment: 7 skiaclipse feathers and 1 planium
 Why use Skiaclipse Varna equipment instead of Savinose equipment when they’re both legend equipment and have the same stats?
Savinose equipment comes unidentified and you need to use magnifiers to re-roll the number of stat lines your equipment has and you can only put one fixed ichor into it.
Skiaclipse varna gear on the other hand, allows you to put two ichors into it - one fixed and one random which allows you the greatest control of what stats you can put on your equipment. It’s more of a hassle to get the random ichors, however, it’s well worth it in the end! It’s even more important now to have a good random ichor with the introduction of the Dysnai equipment (level 430 unidentified equipment) which have a much higher maximum stat roll than the previous set of equipment. You can check that out here.
 Notes and Tips
- I would recommend that you save up your feathers in order to craft your weapon/shield/trinket of choice since armor is generally cheaper to just buy off of the market and it takes many more feathers for a weapon
- Healers will want to use a full cloth set in order to take advantage of this cleric art ([Arts] Cloth Mastery: Healing)
- Most DPS players will want a full leather set in order to take advantage of the innate crit chance and physical/magic damage increase that you get from wearing 4 pieces of leather equipment (you can check this out in F3)
- PvP players can chose between wearing leather to increase their damage or wearing plate or cloth to increase their tankiness - it depends on your classes’ survivability/buffs and what set bonus you have on your gear
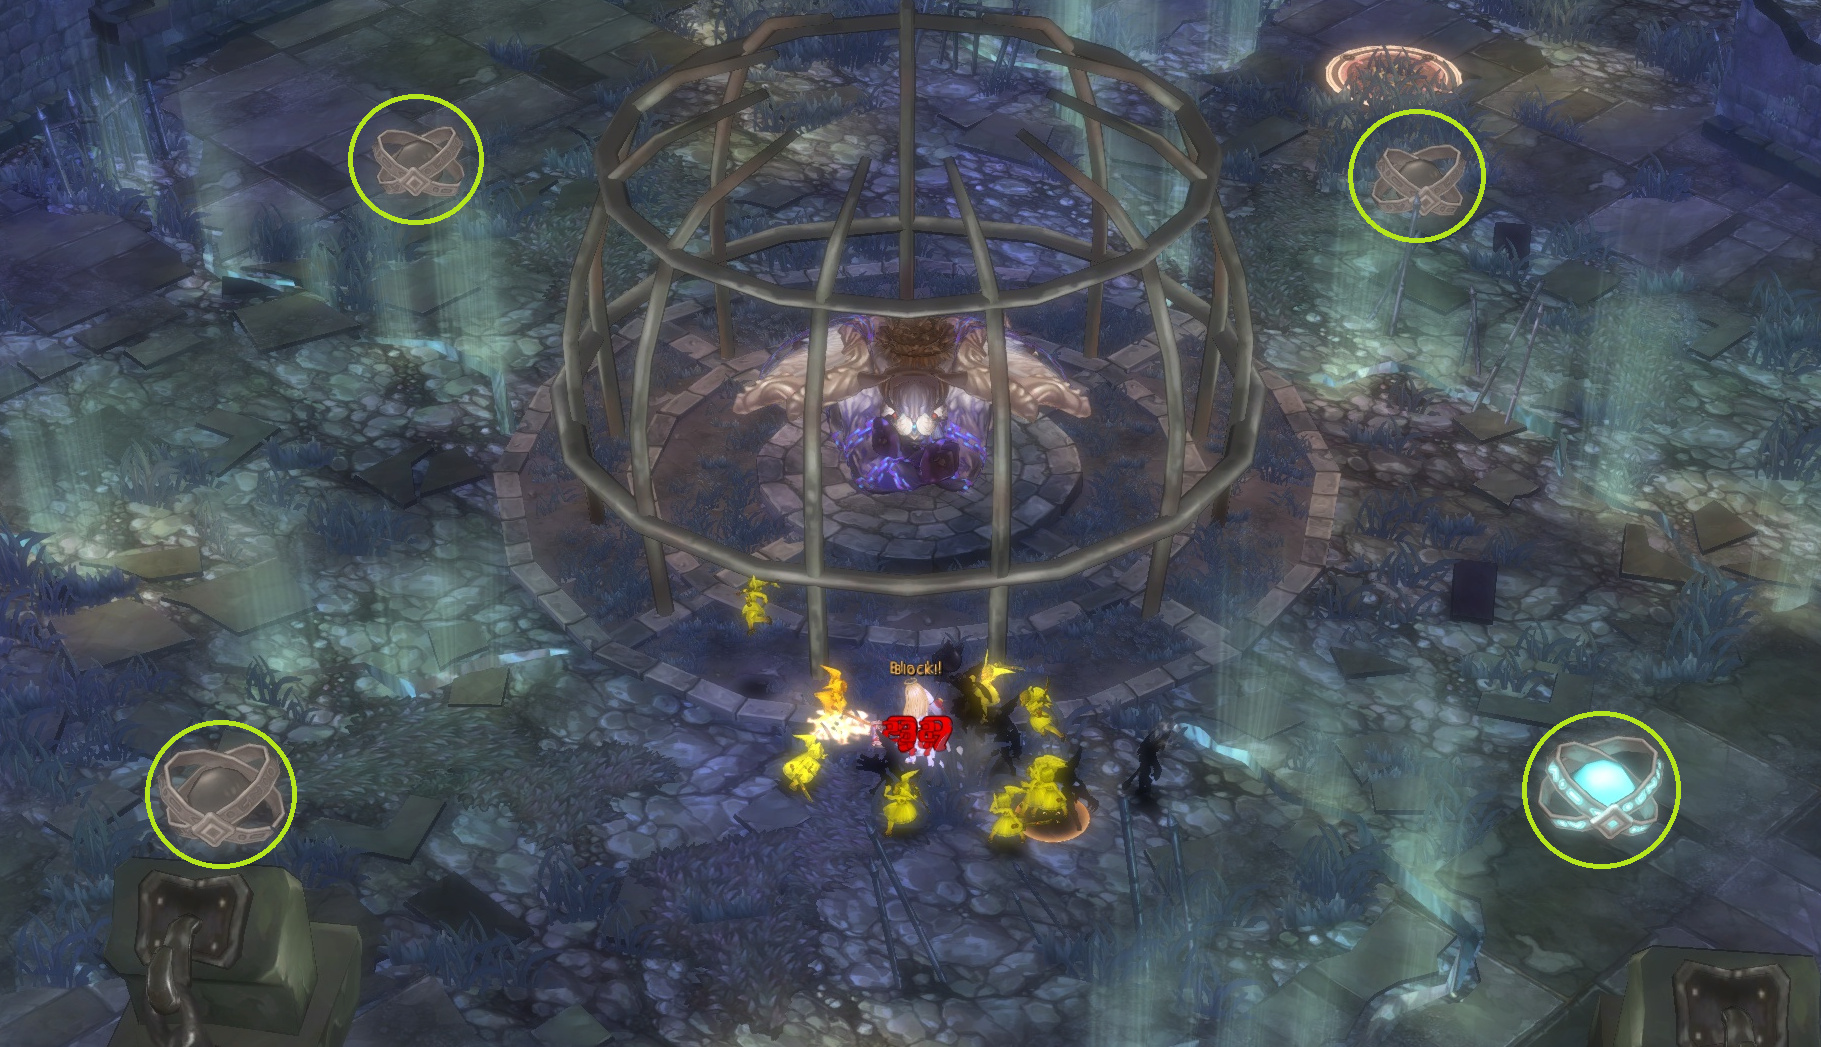
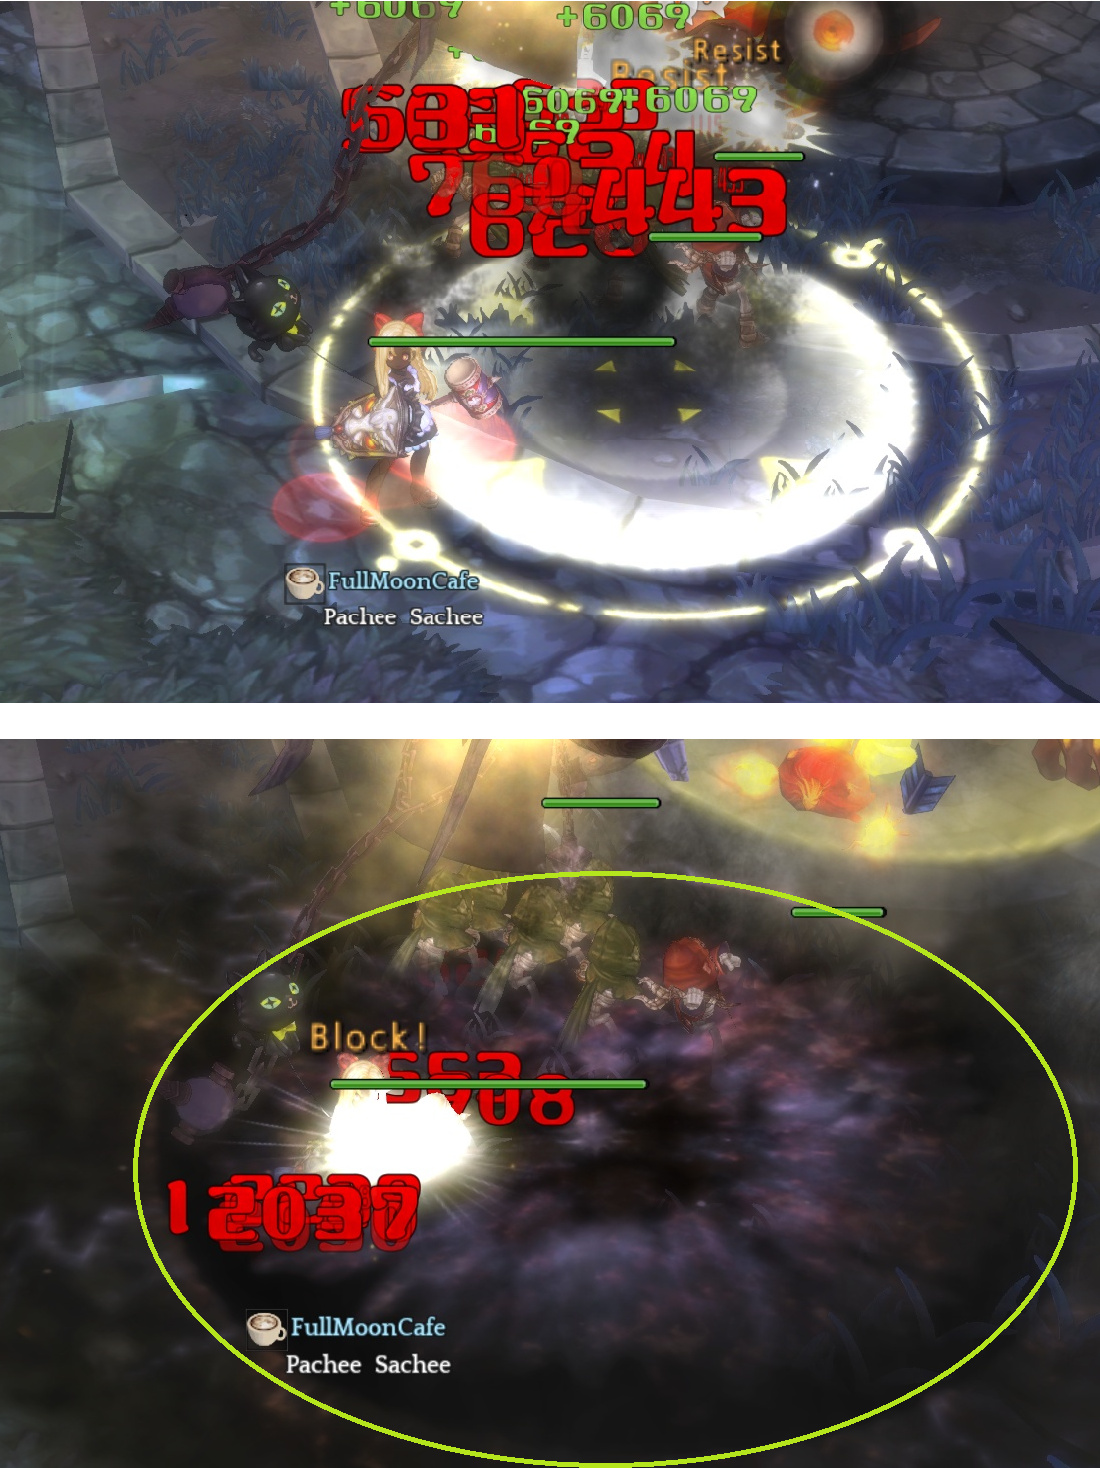
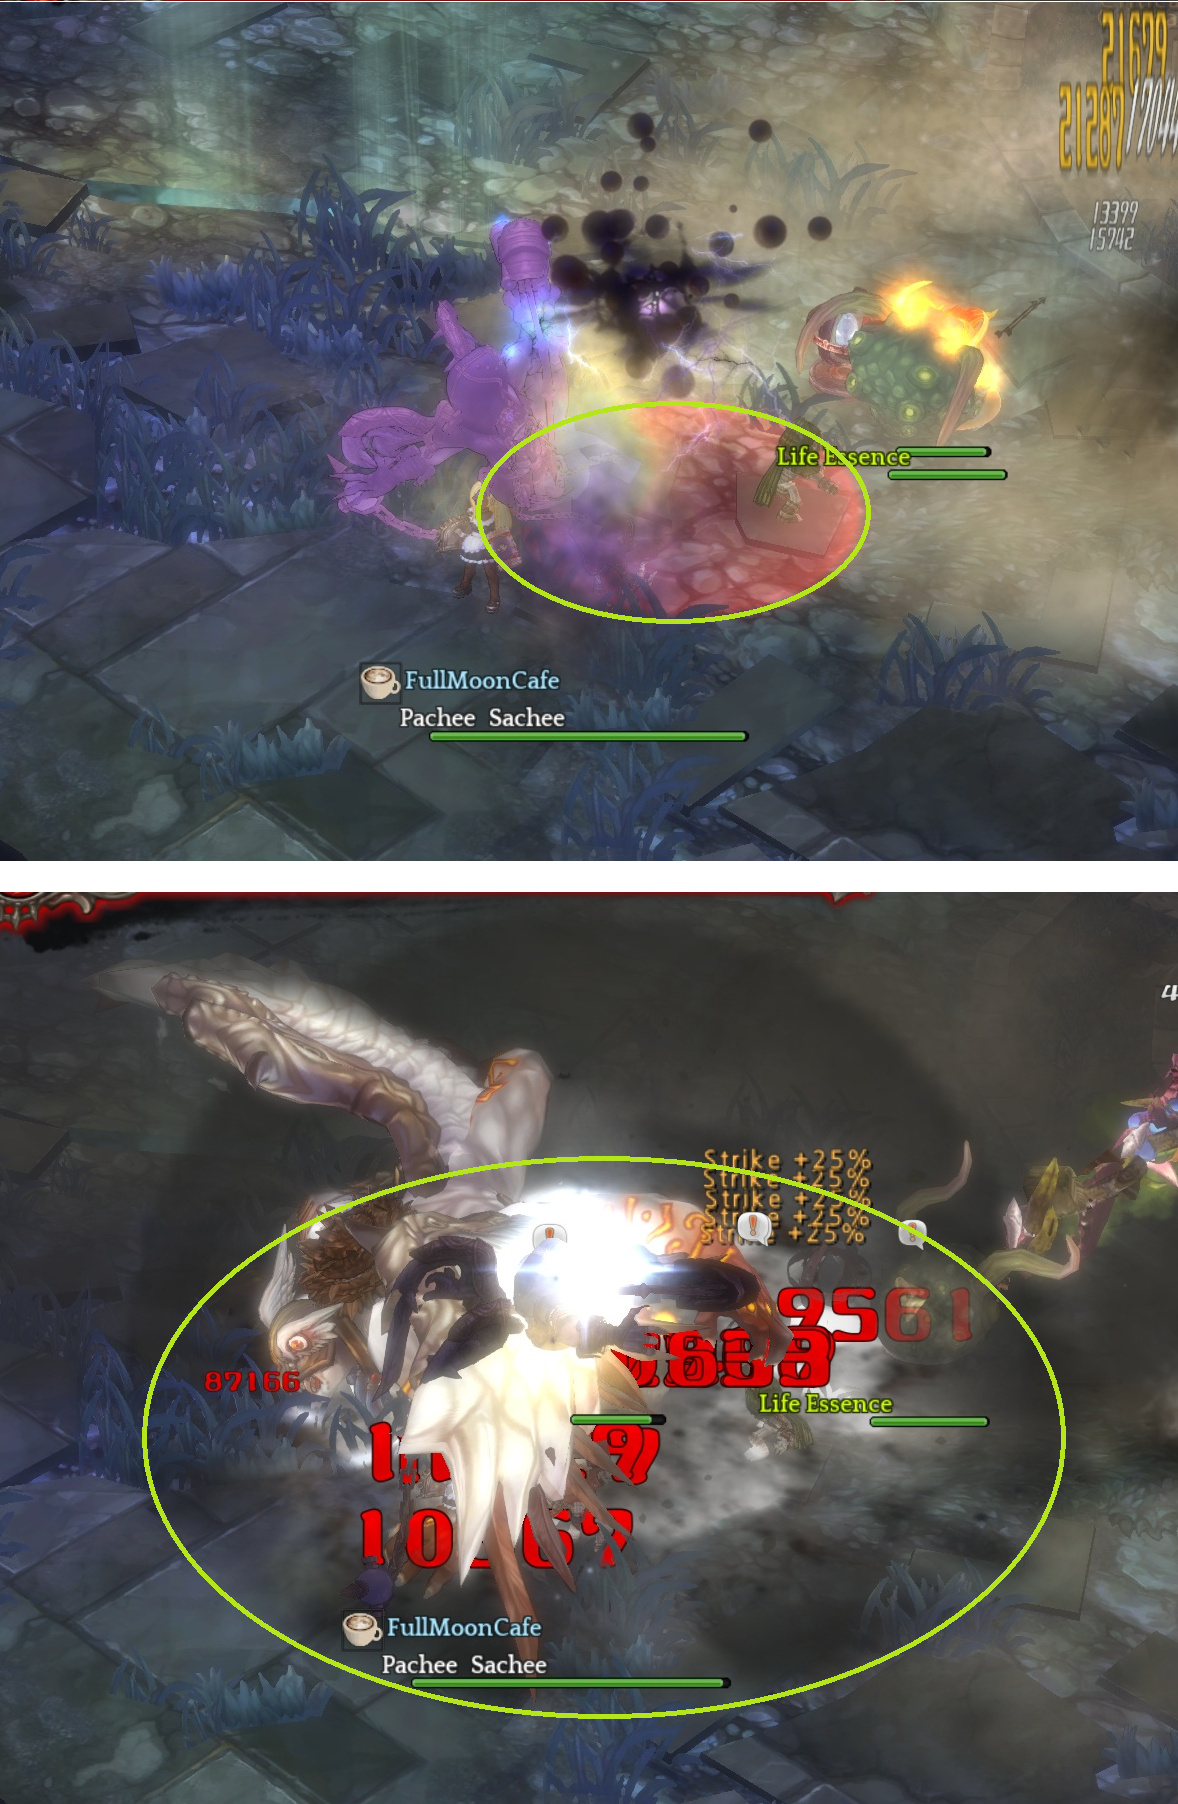
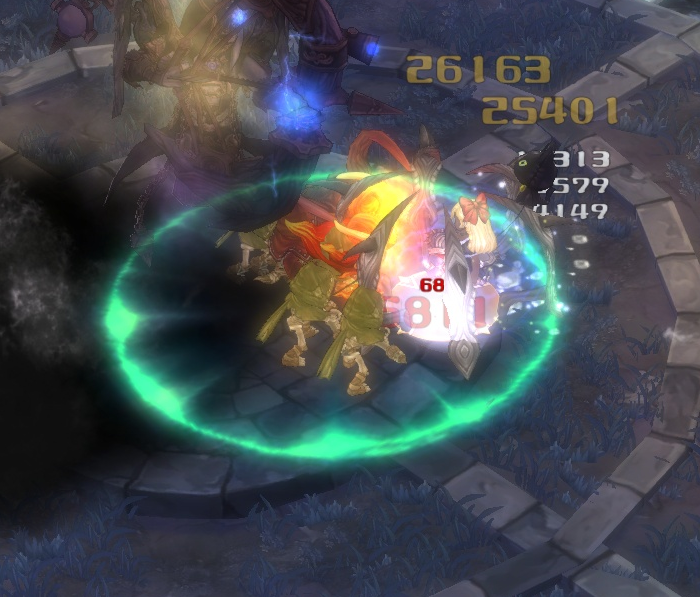
 Skiaclipse Attack Pattern: Light pillars, falling stones, and red AOE
 Varnaclipse and Friends


 Skiaclipse Attack Patterns: Light pillars, falling stones, and red AOE


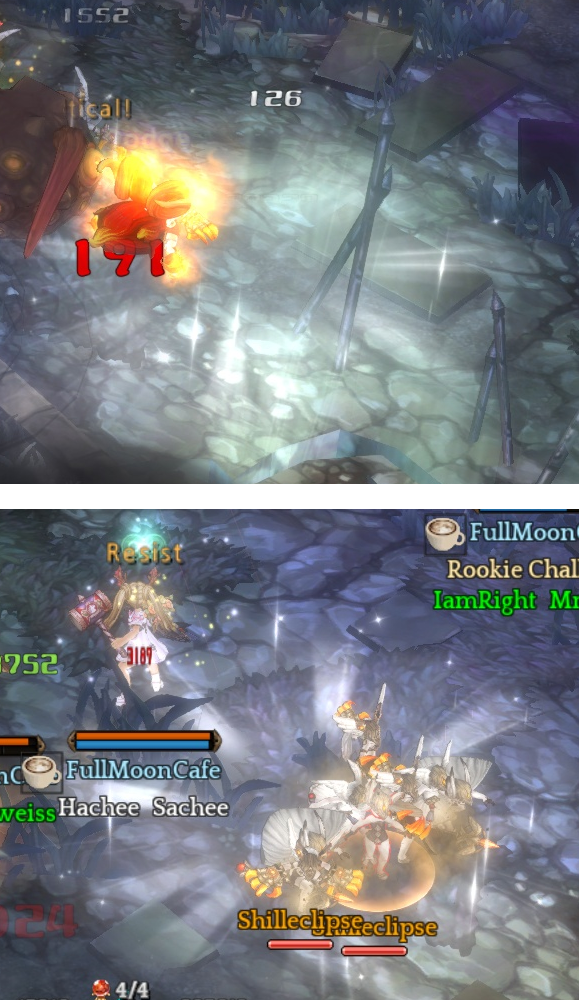
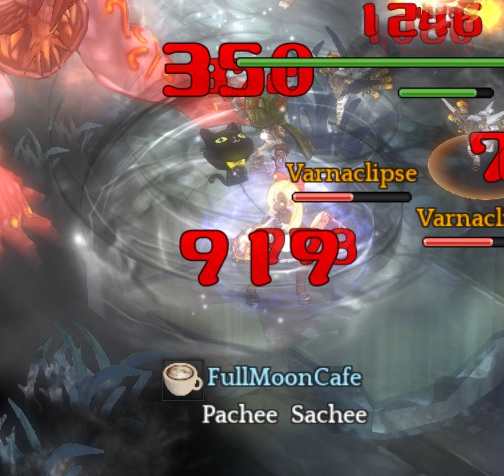
 Varnaclipse and Friends