Rampage: Last 20%
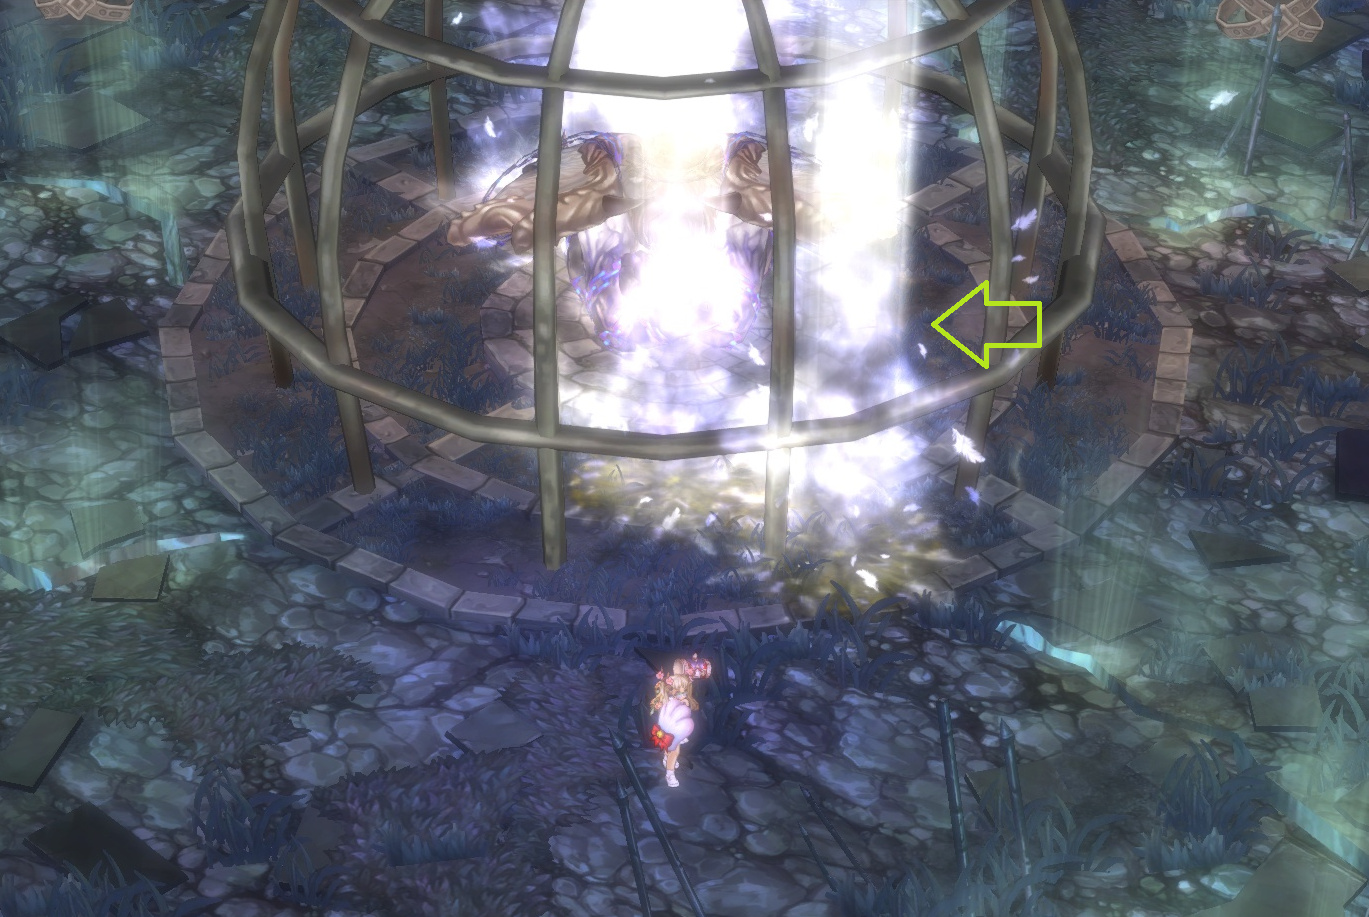
Once Skiaclipse reaches 3%, the Shadowmancer Master will start a cutscene where she KSes your whole party and kills Skiaclipse herself. After the cut scene, anyone who is dead will be resurrected and everyone will be teleported to the middle by the Golden Bonus Cube so they can re-roll the cube if they want to.
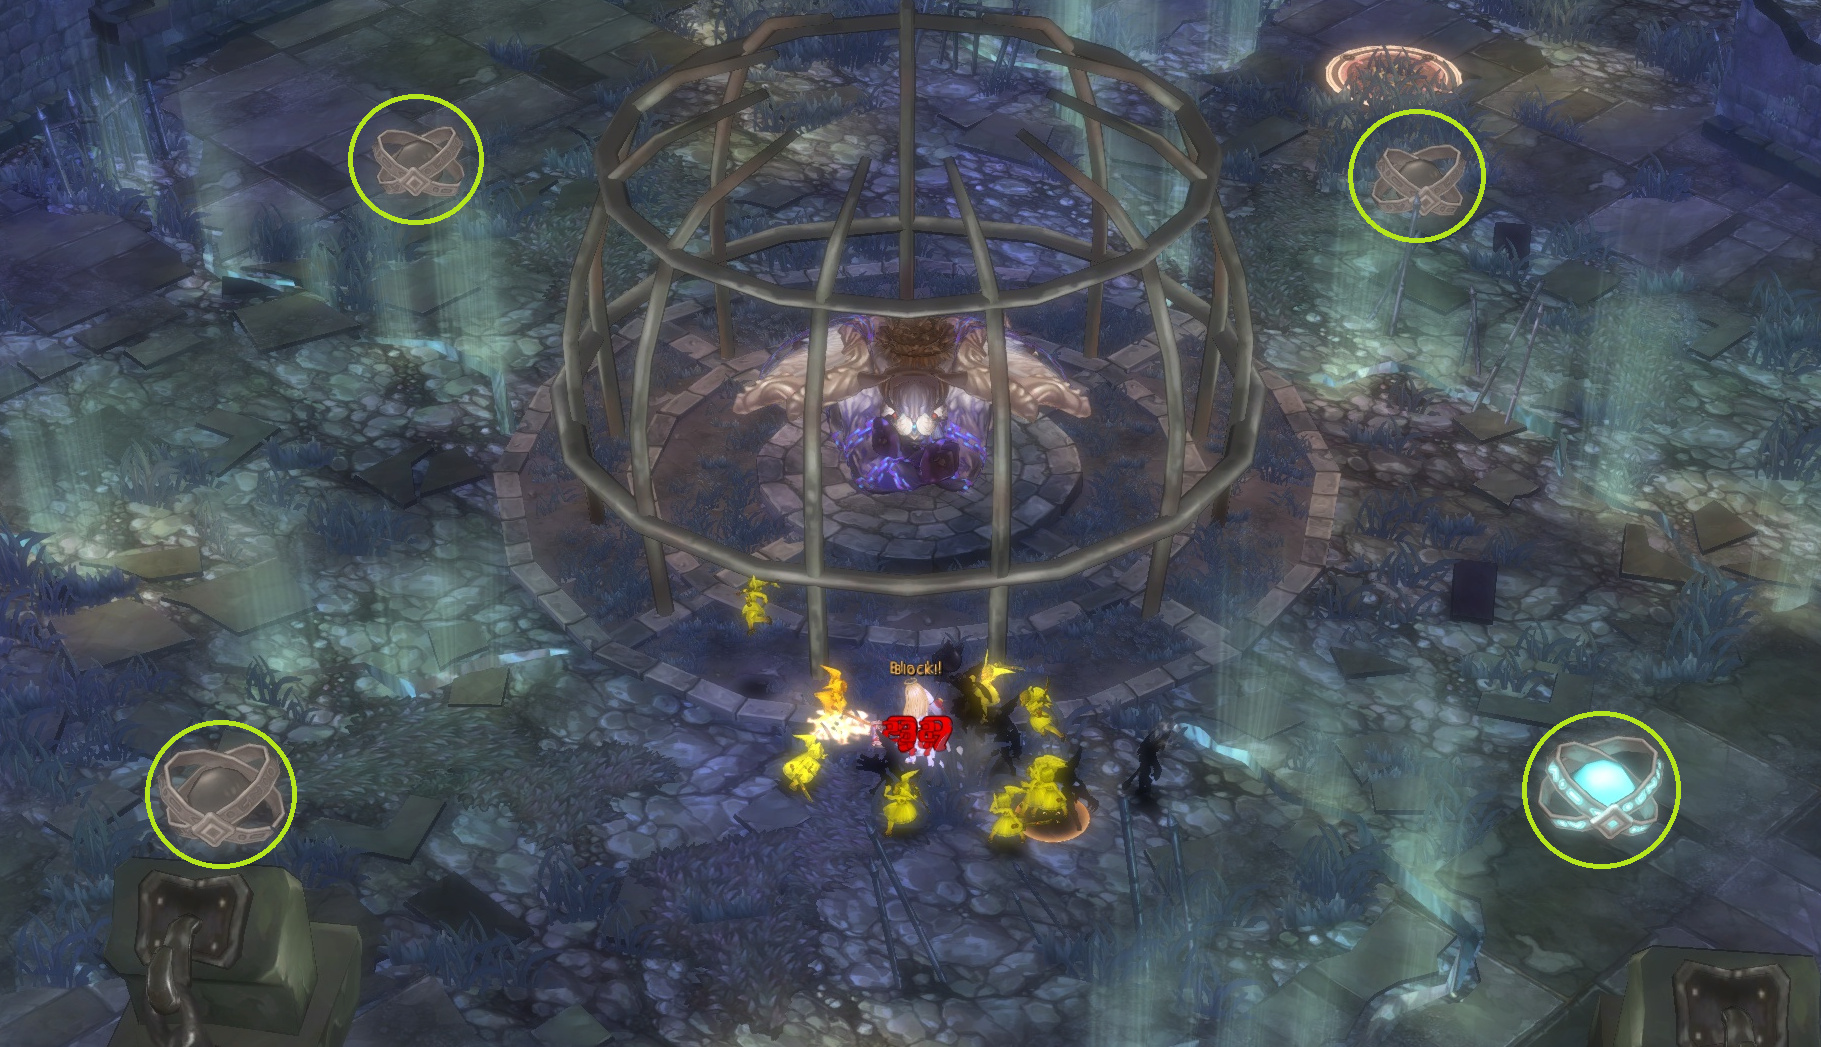
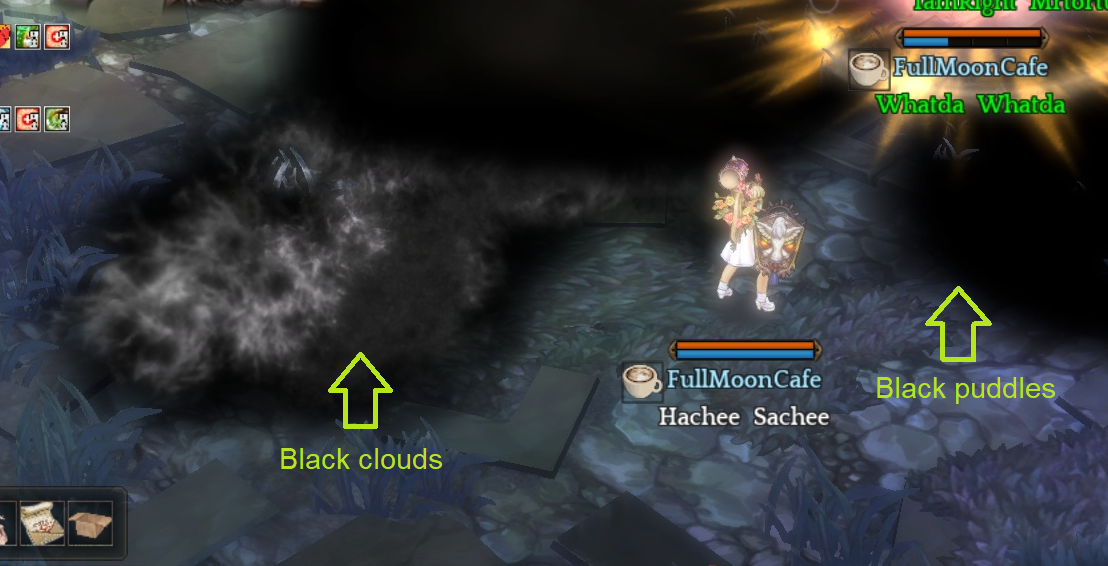
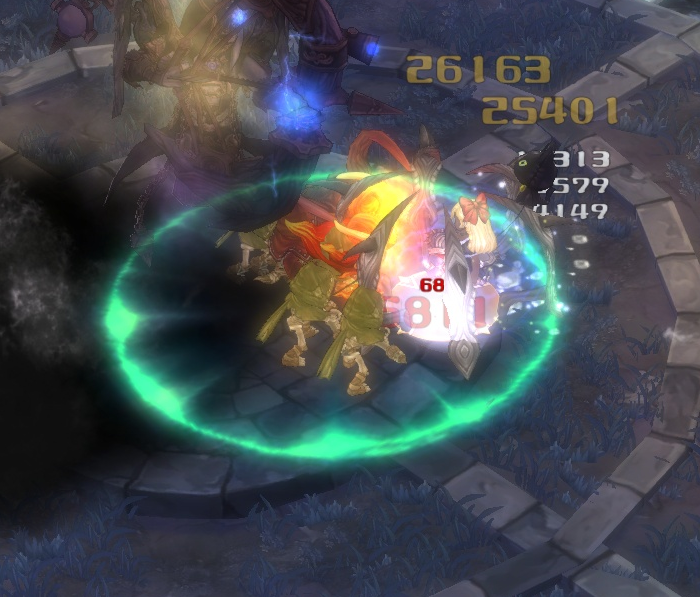
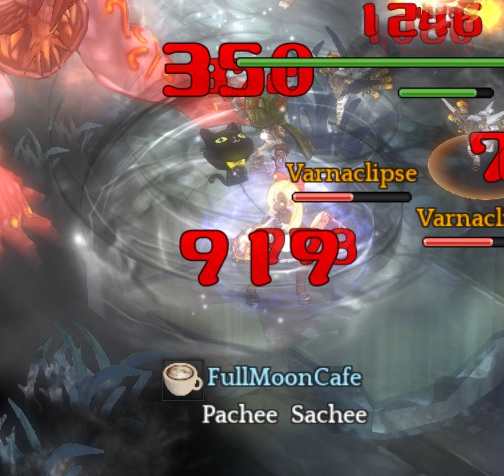
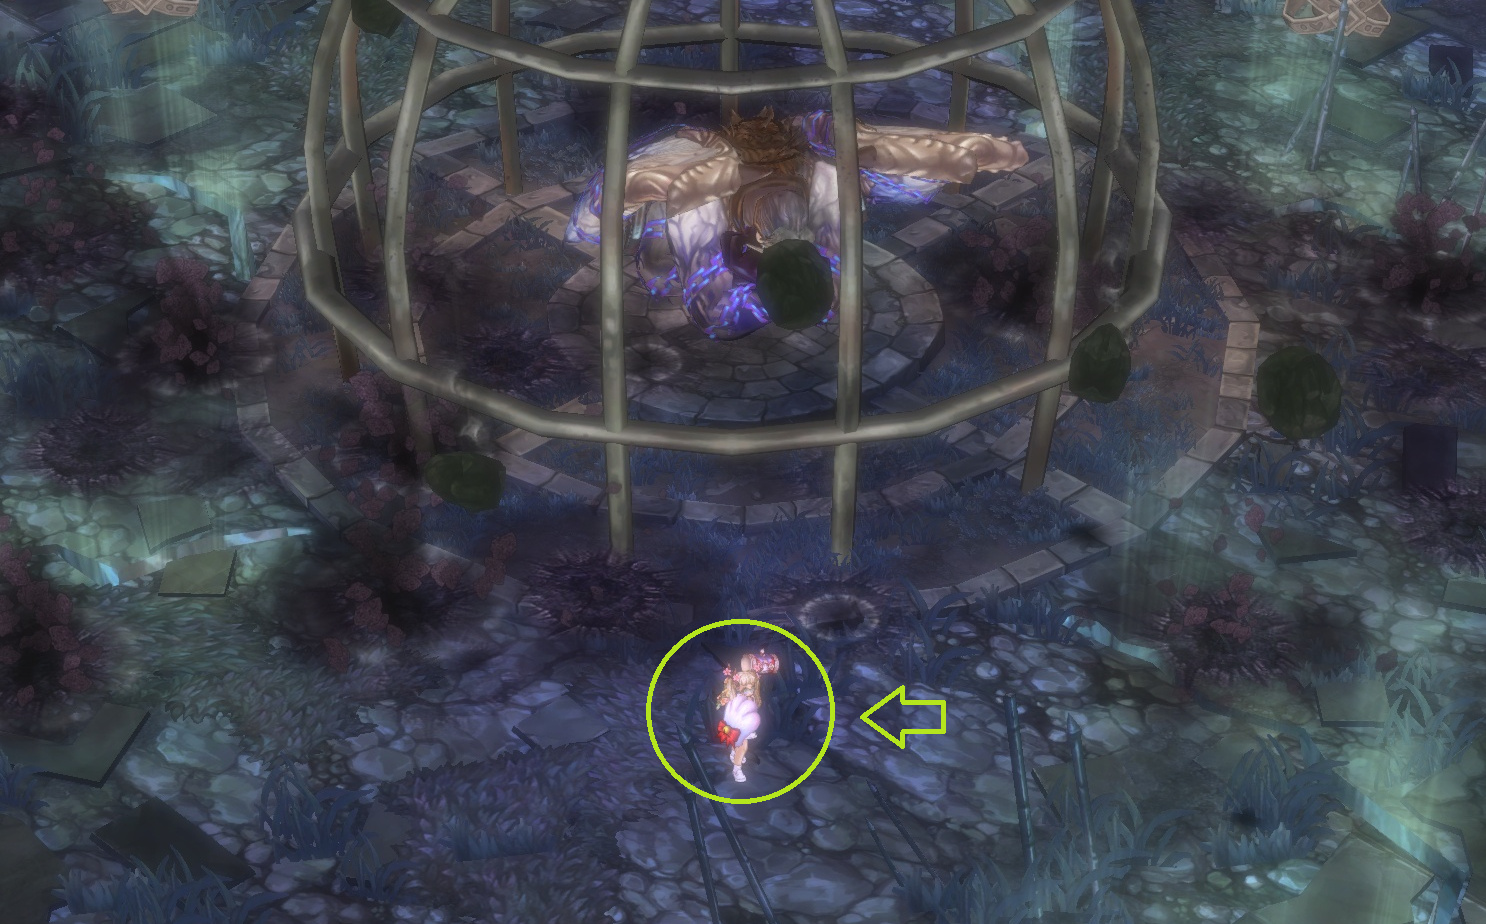
The last 35% of the fight will be the most chaotic part of the whole fight since Skiaclipse will be summoning tornadoes which can quickly wipe a team if Skiaclipse has too many stacks. After the Bone Prison mechanic at 20%, Skiaclipse will start doing a new attack — a large groundbreaking AOE around him (similar to Onmyoji’s Toyou)
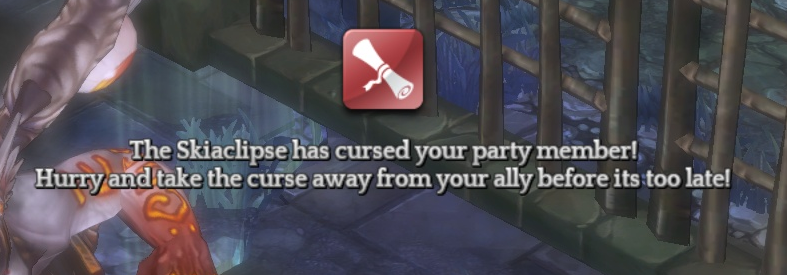
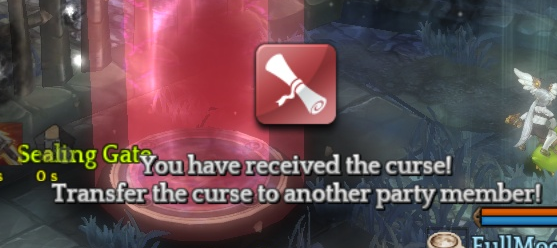
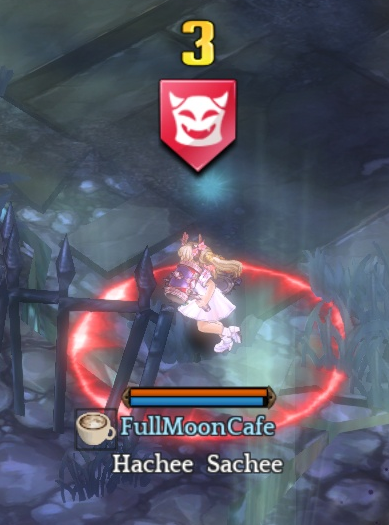
At 20%, Skiaclipse curse a player and immediately afterwards he will also teleport one player into the middle for the bone prison mechanic, so keep that in mind before the 20% threshold so you aren’t caught off guard!
- Making sure to give your party Revive before 20% happens is a good way to ensure everyone survives the fight
- Designating someone with i-frames or mobility skills to tank the curse beforehand (regardless of who Skiaclipse curses, the curse should be passed to this person)is an easy way to stay organized during this phase
- It’s best not to spend too much time in this phase so be sure to save enough DPS to burst down Skiaclipse as soon as possible
- Try your best to clear the mechanics that he does after 20%, but don’t spend too much time doing so — find a balance between DPS and mechanics!
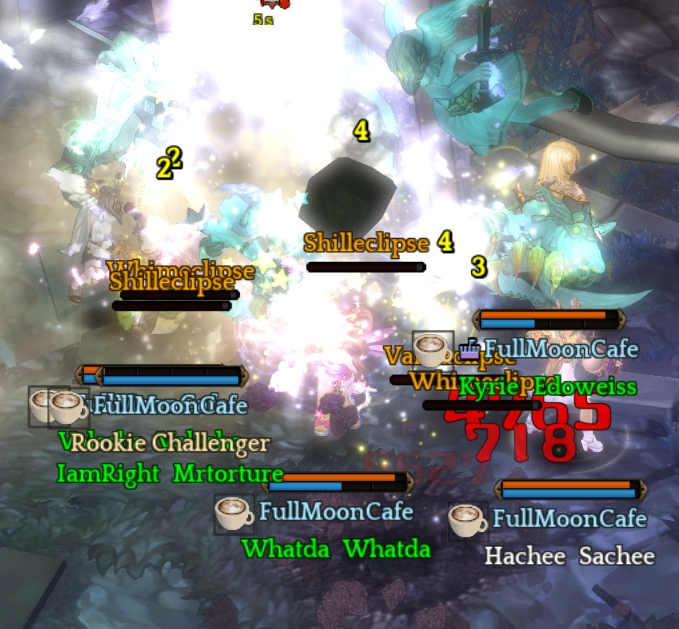
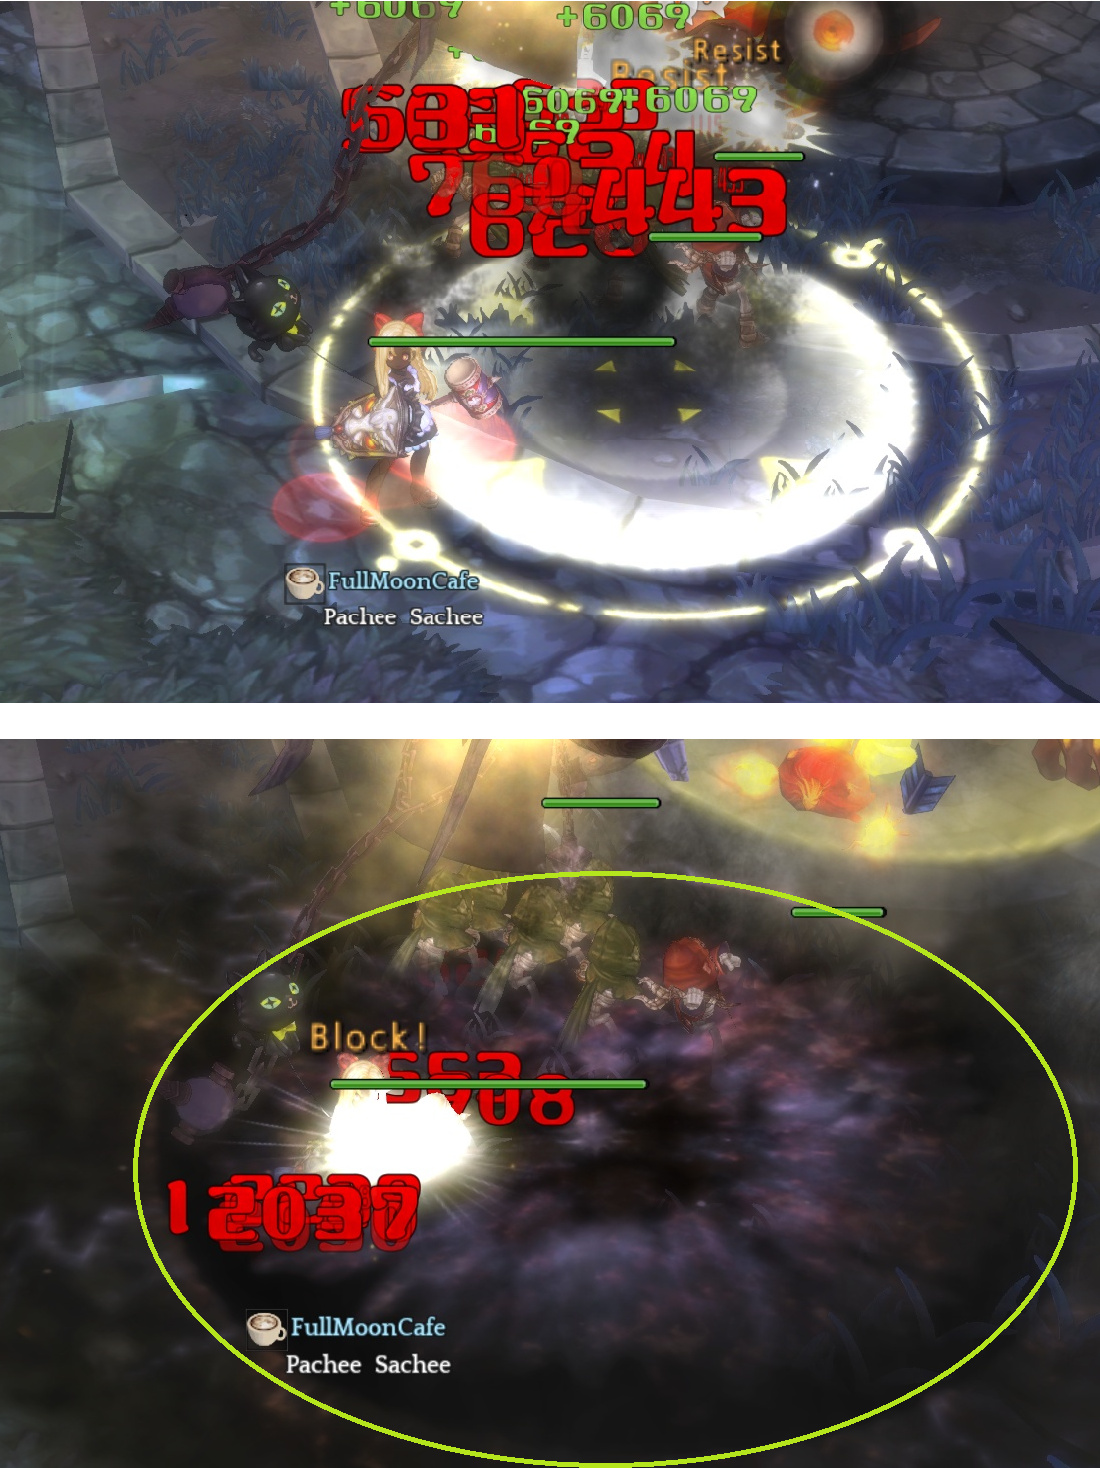
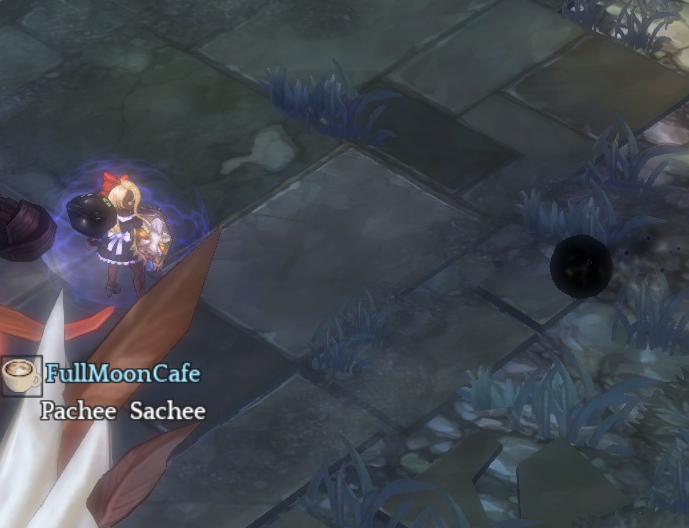
Picture of Skiaclipse's Ground AOE
Insert pic here
 Notes and Tips
- Saving your Smugis and high damage skills for the post 20% cage is preferable because I cannot stress this enough, killing him as fast as humanly possible after 20% is the goal!
- Saving your Twist of Fate for the last 10% is a great way to push Skiaclipse to the 3% threshold
- Don’t forget the last black link mechanic (at 5%) because you’re too busy DPSing!
 4. Dungeon Mechanics & Tips: Chained Skiaclipse
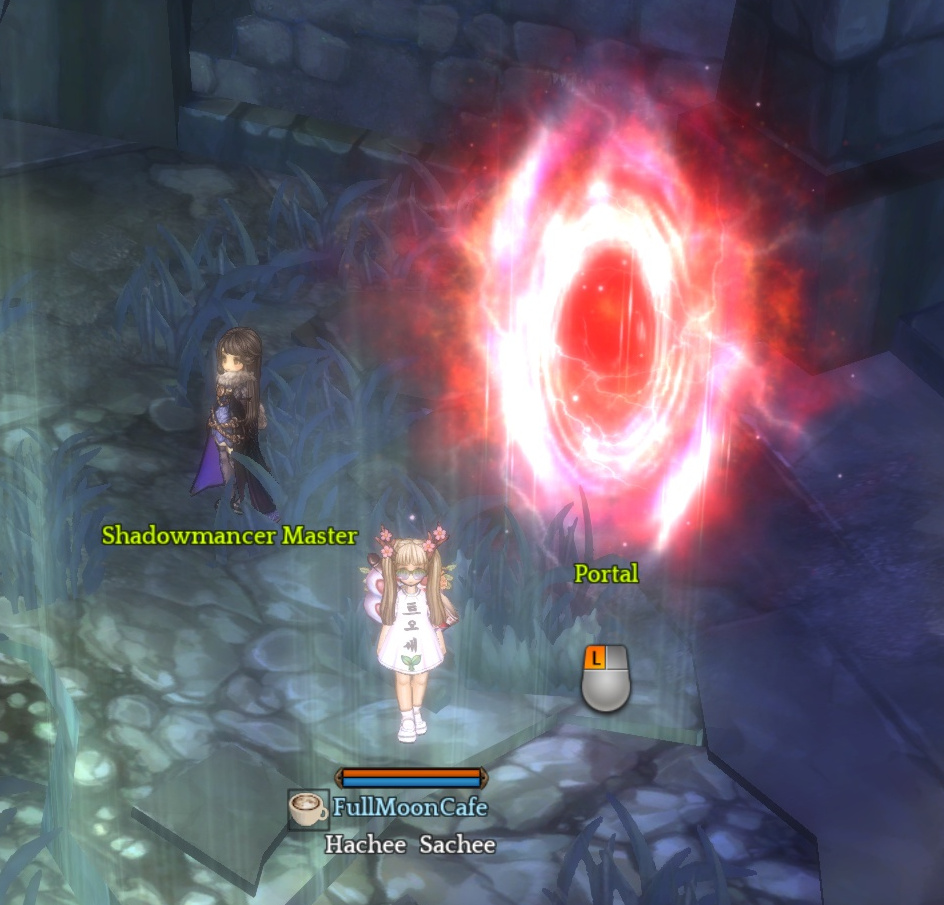
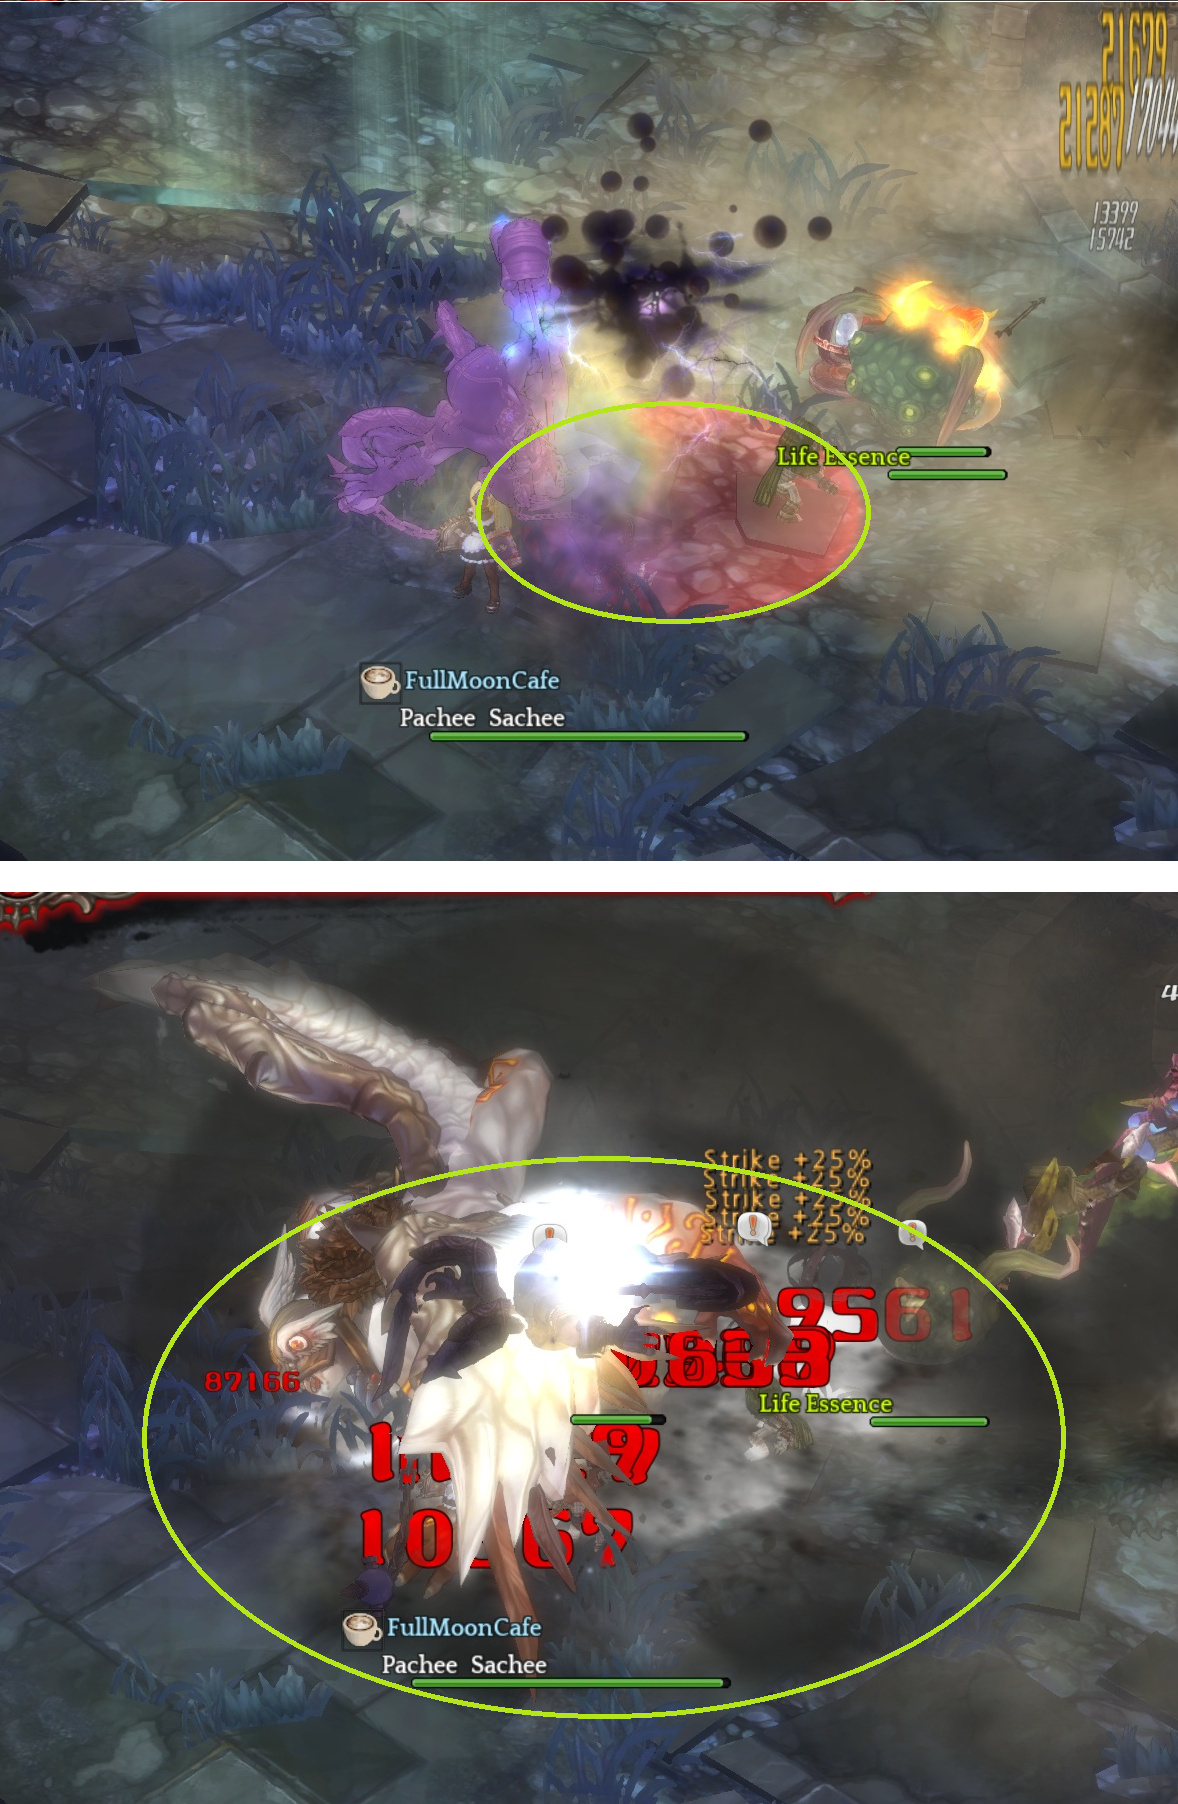
 Skiaclipse Attack Patterns: Light pillars, falling stones, and red AOE