I’m looking to get this thread deleted. I’ve made another thread that has been reformatted so if you have any comments or tips please leave it in the other thread!
This guide will be covering all you need to know about how to kill Skiaclipse and how to complete this legend raid. This guide is will be more geared towards newer players since it is still pretty much the end-game raid for most players.
There is a guide already available out there and I will be using it as well as my own experience in running the raid to write this guide. I just wanted to write something up that’s easier to read and in my style.
Hopefully by the end of the guide, you’ll feel like you can go forth and run the raid without too much trouble! Feel free to leave any comments or corrections to the guide and I’ll try to update it ASAP.
 Table of Contents
- Tomb of the White Crow: Basics
- Possible Loot
- Party Composition: Buffs, Debuffs, and Balance
-
Dungeon Mechanics & Tips: Chained Skiaclipse
 Skiaclipse Attack Pattern: Light pillars, falling stones, and red AOE
 Varnaclipse and Friends
 -
Dungeon Mechanics & Tips: Unchained Skiaclipse
Skiaclipse Attack Pattern: Meteor, Swipe, Lightning, Dive, Smoke Cone, Black Clouds & Puddles
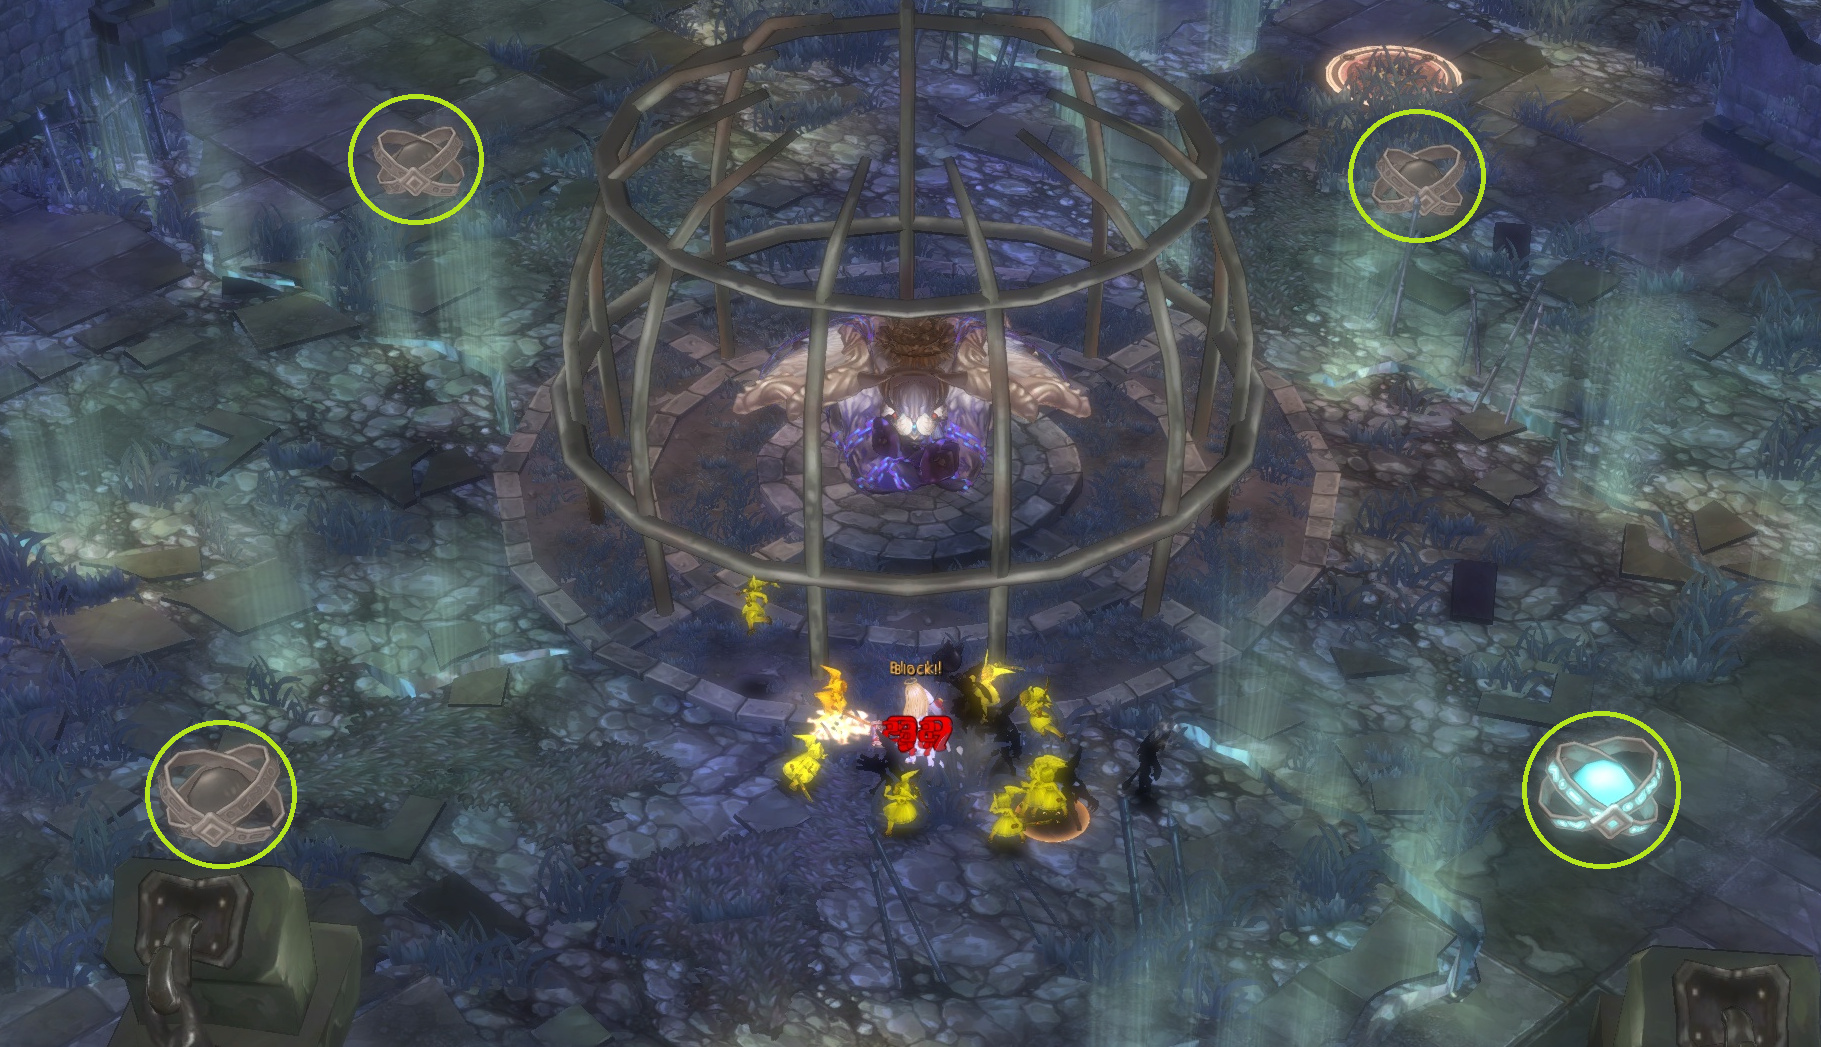
Summon Orbs
Black Link
Bone Prison
Curse
Tornadoes
Rampage: Last 20% - List of Mechanics
1. Tomb of the White Crow: Basics
Entry Cost: No entry cost — 5 weekly run limit per team
- If you’d like to run more runs in a week, you must use 10 legend raid portal stones, which increase by 1 legend raid portal stone each run
- Legend raid portal stones can be created by obtaining a recipe for them by running challenge modes (CMs) by using sierra powder and nucle powder
Minimum Entry Level: 420
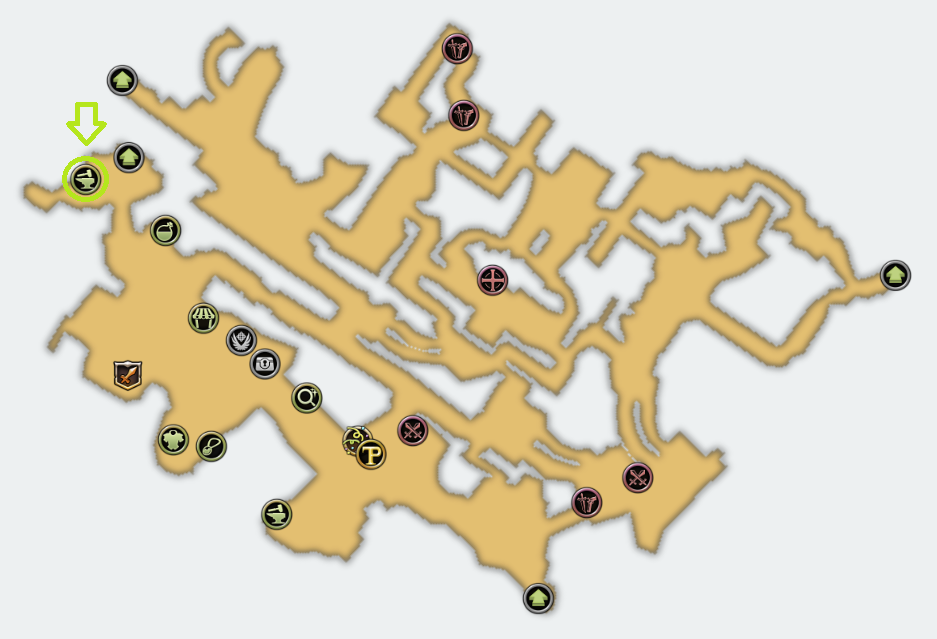
Location: Rasvoy Lake (via the red portal)
- You can simply warp to the location by:
opening F10 Unique Raid (7) Tomb of the White Crow: Unique Warp
 - Take advantage of the F10 panel for warping to other raids as well!
Raid-specific Restrictions:
Skill Limitations

- This can be viewed in F10 in game
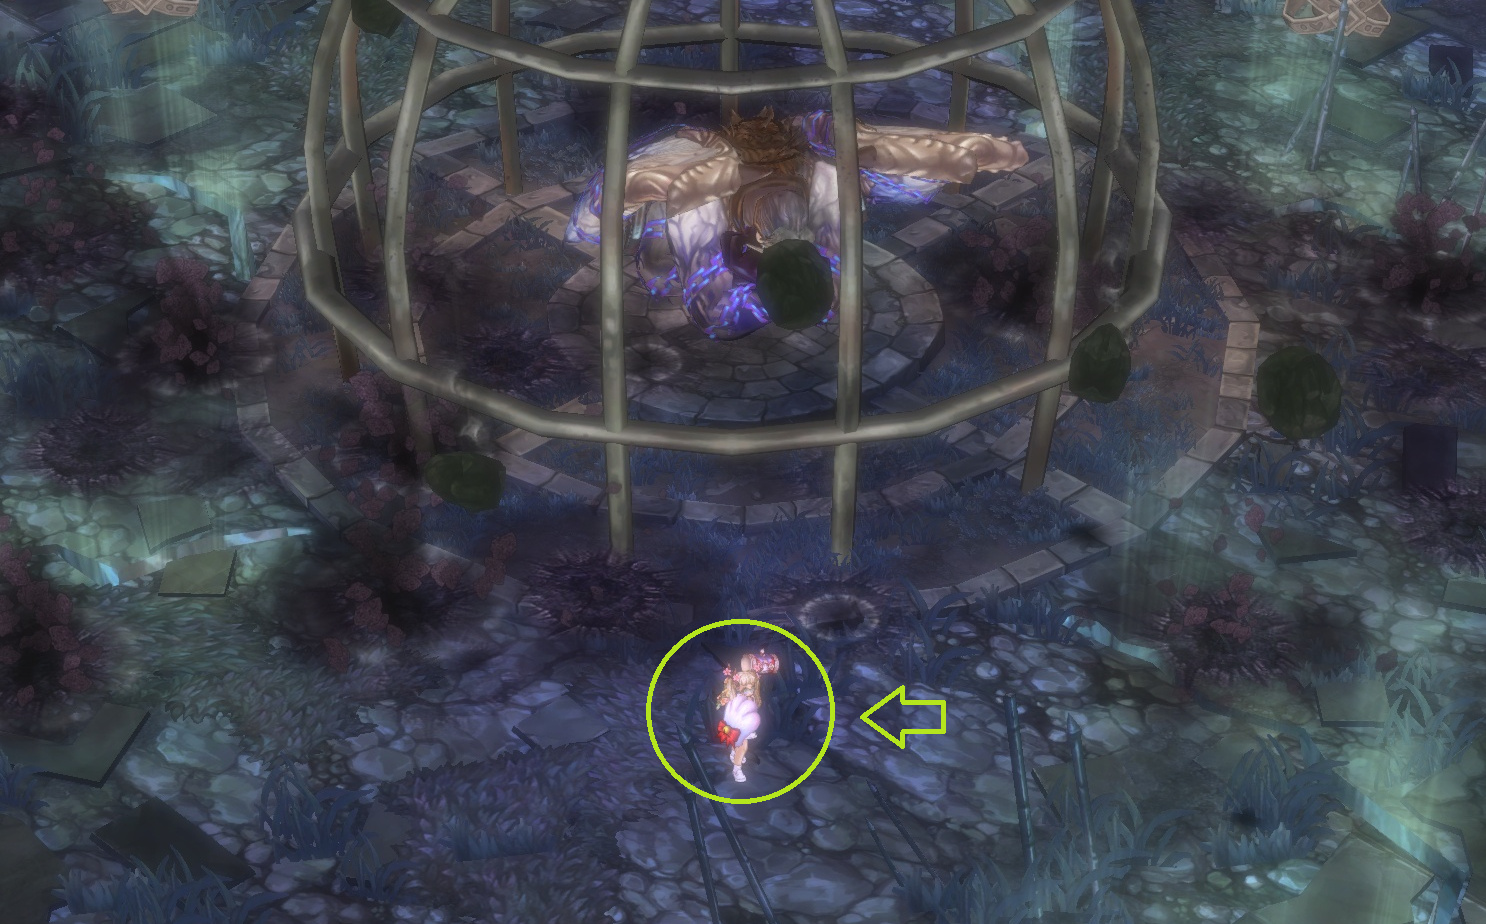
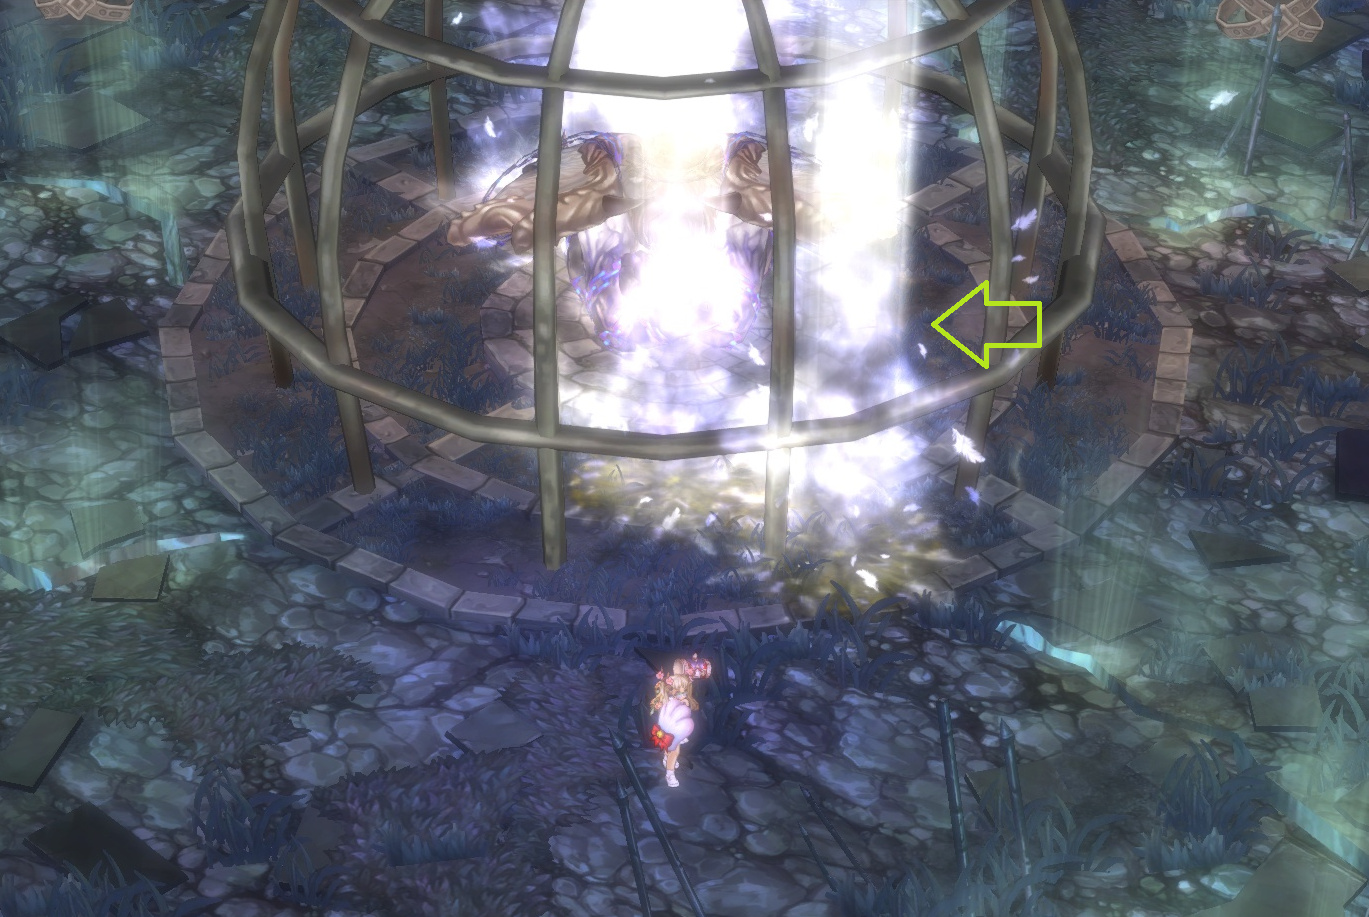
- The resurrection limit can be bypassed by having the person who died leave the dungeon and then re-enter – fair warning, you can always re-enter the room with the Shadowmancer Master before it is cleared, however it’s not always guaranteed that the portal into the boss room will be there still!
2. Possible Loot
After completing the raid, you’ll receive a Skiaclipse Feather (either one or two depending your luck) and Attribute Points: 1000 or Mystic Tome (one or the other, again, depending on your luck). You may also get really lucky and drop a completed piece of armor, weapon, or cosmetics!

You can also re-roll the golden bonus cube in this raid to gain more chances at feathers or completed equipment using silver. The first re-roll costs XXX and the second re-roll costs XXX, making the grand total for one full re-roll XXX.
- If you want to re-roll, bring the money with you before the raid starts - you won’t lose any money if you die, but you will lose gems, so keep that in mind!
- I highly recommend that you do both re-rolls since the first re-roll is more expensive than the second re-roll by a significant amount
Head to the Blacksmith Teliavelis in Fedimian with the feathers you got along with some planium (another legend material) so you can make your Skiaclipse Varna equipment.
Cost for weapon/shield/trinket: 19 skiaclipse feathers and 3 planiums
Cost for equipment: 7 skiaclipse feathers and 1 planium
Why use Skiaclipse Varna equipment instead of Savinose equipment when they’re both legend equipment and have the same stats?
Savinose equipment comes unidentified and you need to use magnifiers to re-roll the number of stat lines your equipment has and you can only put one fixed ichor into it.
Skiaclipse varna gear on the other hand, allows you to put two ichors into it - one fixed and one random which allows you the greatest control of what stats you can put on your equipment. It’s more of a hassle to get the random ichors, however, it’s well worth it in the end! It’s even more important now to have a good random ichor with the introduction of the Dysnai equipment (level 430 unidentified equipment) which have a much higher maximum stat roll than the previous set of equipment. You can check that out here.
 Notes and Tips
- I would recommend that you save up your feathers in order to craft your weapon/shield/trinket of choice since armor is generally cheaper to just buy off of the market and it takes many more feathers for a weapon
- Healers will want to use a full cloth set in order to take advantage of this cleric art ([Arts] Cloth Mastery: Healing)
- Most DPS players will want a full leather set in order to take advantage of the innate crit chance and physical/magic damage increase that you get from wearing 4 pieces of leather equipment (you can check this out in F3)
- PvP players can chose between wearing leather to increase their damage or wearing plate or cloth to increase their tankiness - it depends on your classes’ survivability/buffs and what set bonus you have on your gear
3. Party Composition: Buffs, Debuffs, and Balance
The only two important roles that the party requires are:
- A cleric who is also a priest (having revive makes the run much easier)
- Another player who is tanky enough to withstand the swipe attacks that Skiaclipse does
- When Skiaclipse swipes 4 times in front of him, he must hit someone or else he gains a stack which increases his overall damage, speed, etc
- When Skiaclipse gets 20 stacks, he goes into berserk mode which is a party wipe
This raid has been incredibly power crept since Episode 12 so most parties can complete a run before the stacks even become a problem and generally just have so much DPS that many mechanics happen all at once.
It also used to be an absolute requirement for the party to have a cleric who is both a priest and an oracle (in order to use counterspell to break the tornadoes that he spawns), however, it’s not longer necessary. An explanation will be given under “Skiaclipse Attack Pattern: Tornadoes”
Notes and Tips
-
Minimally, a party just needs to have a healer and two competent DPS so that they can break each other out of the bone prison — the last two spots can be filled with anyone really
-
If your party has a lot of DPS but not enough survivability, consider running a wizard to take advantage of Magic Shield: Protect Party, one of the best party damage mitigation skills in the game (just be sure to refresh it) or running multiple healers to alternate Revive, however, it’s not ideal since you are also sacrificing DPS
-
If your party has enough survivability but not enough DPS, consider running an Oracle (Divine Might, Death Sentence, and Prophecy: Increase Damage), a Dievdirbys (Statue of Goddess Laima), a Miko (Omikuji and Kagura - only beneficial if your party is more magic attack orientated), a Pied Piper (Lied des Weltbaum)
— These are just some of the examples I could think of, there are plenty of ways to balance your party’s DPS and survivability for a quick and successful run!


 Summon Orbs: 90% / 65% / 40% / 15%