Hello!
I’m here to provide you a guide to help you clear Lepidoptera Junction, a new raid added in Tree of Savior. This raid offers two titles.
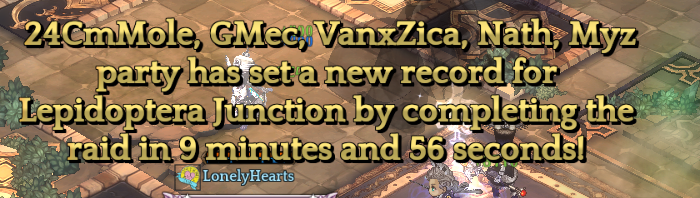
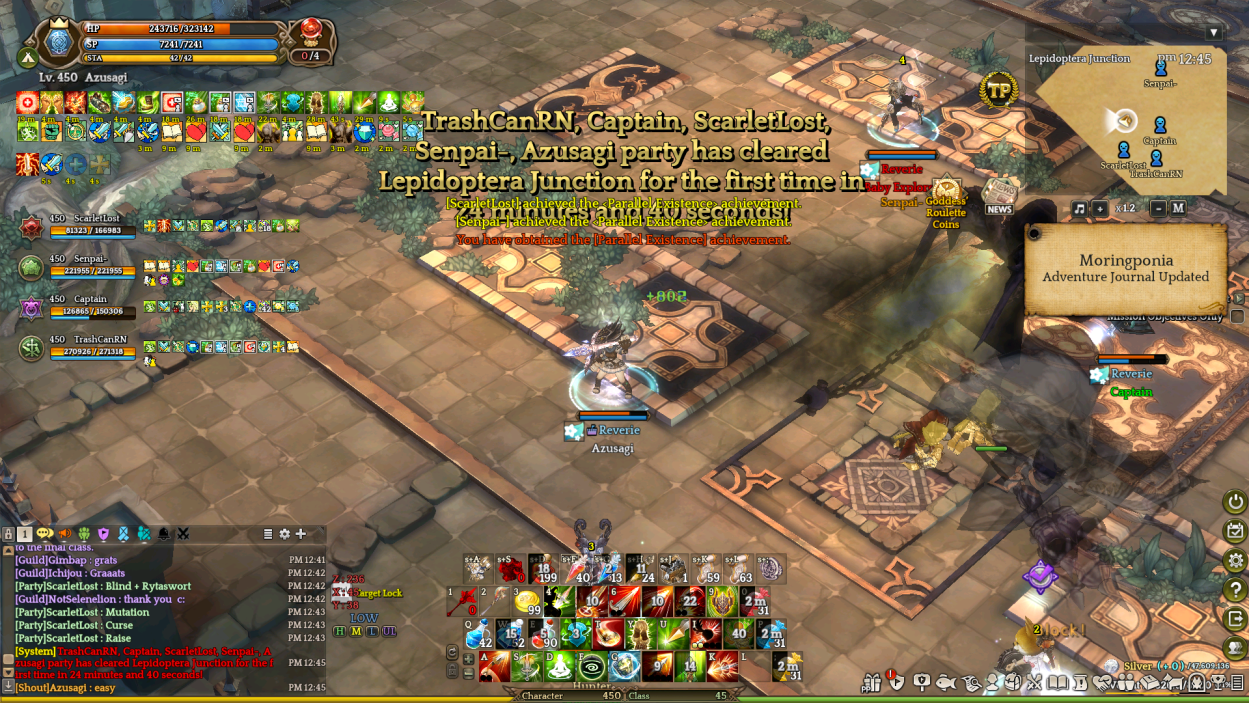
If you are the first on your server to clear it, you’ll receive the title Parallel Existence. If you can clear it before a certain date, you’ll get the title Time Walker. It must be completed on Hard mode to obtain titles.


The raid offers two difficulty modes: Normal and Hard. The Hard mode was the original version of the raid, and Normal mode was added later in KR as an easier option for players due to the high difficulty of the Hard mode. This guide will be going over the Hard mode, as it covers all of the mechanics.
The Normal mode only rewards Moth Dust. Five make 1 Moth Powder, which is rewarded by the Hard mode, needed to make the accessories the Hard mode also drops.
Here is a video of the fight:
Now, onto the fight explanation.
Lepidoptera Junction
This raid is split into 3 sections. The first is a short walk up to some NPCs and fighting some weak minions of Tantalizer. By talking to the NPCs, you can begin the actual raid.
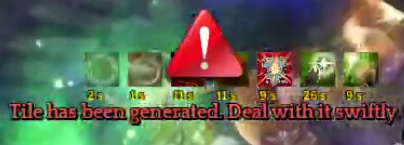
You must defeat Tantalizer and then Moringponia immediately afterward. The raid has a time limit of 30 minutes. If you do not complete it in 30 minutes, it will end. If you fail at any point, you must start over from the beginning.
This raid has a lot of mechanics and many of them are deadly if not handled correctly. You must work as a team in order to succeed.
Tantalizer

Tantalizer is split into 3 phases based on her remaining HP. The fight ends when she reaches 2% HP remaining. This fight is heavily themed around positioning and avoiding magic circles.
Phase 1: 100% ~ 70%
Tantalizer will attack you with a variety of regular attacks. Take this time to learn her attacks and get adjusted to dodging and dealing with them.
Five Swords
Tantalizer will slam down five swords around her. After hitting the five locations, she will emit an explosion of energy around her. This attack becomes more powerful in phase 2 and becomes one of her most deadly attacks. It is ideal that you avoid the swords and also do not stand next to her after she finishes. I’ve been told you can jump to avoid it.
She will repeat this attack on a regular basis throughout the raid and is always the absolute first thing she does.
Magnetic Energy

Every time Tantalizer hits a player other than the one that is currently tanking her, she will inflict one stack of Magnetic Energy. This debuff does nothing on its own, but if it reaches 20 stacks, the player will be surrounded by a magnetic field. This will stay on them and follow them.

This magnetic field deals no damage to you, but if another player comes near you, they still take constant damage. This makes it much more difficult to deal with upcoming mechanics. If you are approaching a high stack count, it is preferable to attempt to let them expire, as they will go away after 30 seconds of not being hit.
The magnetic field will also expire after 30 seconds. This mechanic persists through the entire fight.
95% HP: Magic Condensation
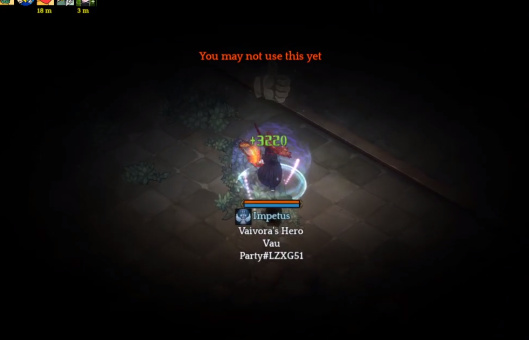
Once she reaches 95% HP, she will immediately put a curse on a random player. This looks similar to the curse icon from Tomb of the White Crow. If you are chosen, you will a message at the top of the screen.


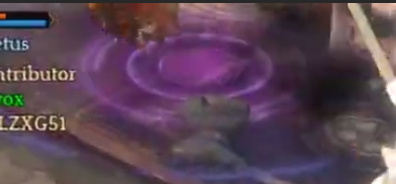
After 5 seconds, you will drop a field of lightning on the ground. This lightning field is permanent and will only go away once Tantalizer dies. The person who is chosen must run to the edge of the field and wait for the curse to end, placing the lightning field against the wall. If it is placed near the middle, it will be difficult to continue the fight.
If a lightning field is placed too closely to another one (very close or inside), the player who had the curse will instantly die. Make sure they are not too close to one another. They can be overlapping, but not by too much.
Magic Condensation will repeat every 45 seconds until Tantalizer dies. If the fight takes too long, the lightning fields may cover too much of the arena to continue. Because this mechanic occurs for the entire fight, it is imperative that every member watches if it lands on them and others can also call it out if they see it. You must always be observant of this, no matter what else is happening in the fight. A single lightning field placed in the wrong spot can doom the attempt, as positioning becomes extremely tight as you progress, and it can cover up crucial mechanics such as the next one.
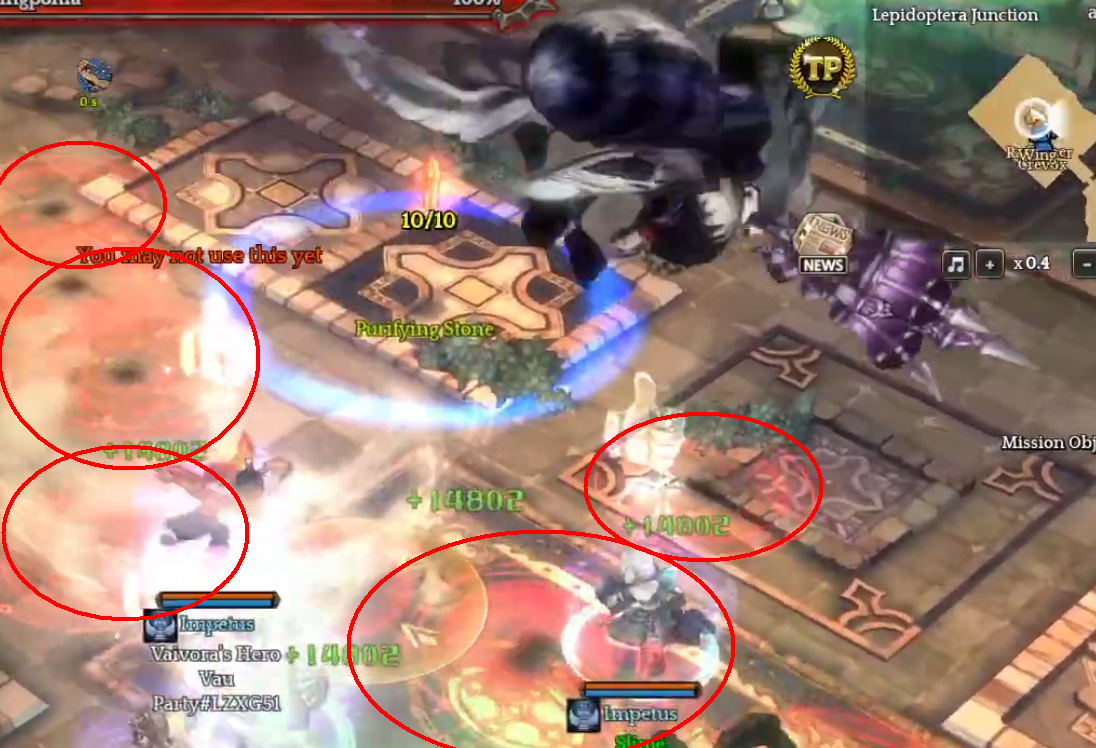
80% HP: Summoning Tile
At 80% HP, and for every 20% of HP after that (80/60/40/20), Tantalizer will create a grey circle on the ground in a random spot on the field alongside a popup message. A player must move and stand in this circle. If a player is not standing in it, it will periodically create two Nabu enemies that will move and attack players. These monsters have a purple aura on them that deals heavy damage to anyone nearby, and should be killed quickly if they appear.

If the Nabu attack the player trying to stand in the circle, it can make it more difficult to stay in it due to their high damage. In general, the healer or a ranged DPS should handle these circles, and if they appear, they should be pulled away from the circle so that it can be dealt with.
After standing on the field for a short time (15-30 seconds?) it will disappear. If players are quick, then zero Nabu will be created and you will not have to fight them.
75% HP: Polarity
Polarity will change shortly.
At 75% HP, she will inflict debuffs on the four players that are not tanking Tantalizer. Two players will be inflicted by Cathode, and two players will be inflicted by Anode. These show up as red and blue chains around the players.
The players with the same color chains must stand next to each other to avoid constant damage. If players are not next to their same color chain, they will take 7% of their maximum HP in damage every 3 seconds (reduced by damage reduction modifiers). This damage is relatively minor, especially if something like Magic Shield is up.
However, if two players with opposite color chains approach each other, both will begin to take heavy damage. You must not let the opposite colors touch each other. It can be difficult to always stay near your same color, or even impossible if someone has Magnetic Field on them, and should be manageable without issue by your healer. However, you must never let the two opposite colors touch or it can result in a quick death. Do not be afraid to move away from your polarity buddy in order to do things like place a curse in a corner, dodge attacks, etc.
These polarities will be randomly reassigned among players every 90 seconds. The mechanic will stop being applied once Tantalizer reaches 35% HP.
Phase 2: 70% ~ 30%
Tantalizer will continue the attacks above, but also add a couple new things to deal with.
Five Swords

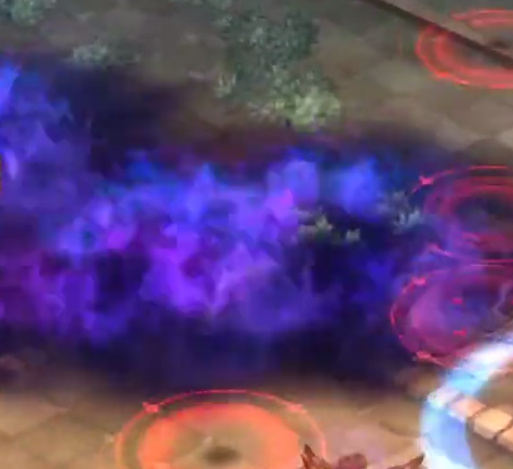
For the rest of the fight, the Five Swords attack will now place a large number of lightning fields on the ground that cascade outward from where the swords landed upon using the attack.
These fields deal relatively high damage when standing in them, and it’s very possible to get hit by the explosion from her using the attack and then also be standing on a field she immediately just created. This results in a high burst of damage in a short time frame that can kill players if they are not prepared for it. Make sure you have enough HP, avoid the fields, and avoid the attack so you don’t die.
Generally, it is a good idea for her to be fought and tanked near a wall to minimize the amount of space that these lightning fields cover upon creation. You can fight her where she is after use or move her to a section of the arena where there is a lot of space. The attack has a cooldown, so once she is in a position that you find comfortable, you will have plenty of time to deal damage and handle the other mechanics until she repeats it.
The lightning fields disappear after a short time, and their disappearance signals that they will be placed again soon. You do not have much time before she repeats the attack after this happens, so be prepared for it.
70% HP: Summon Magic Sources

Once she reaches 70% HP, she will begin summoning black orbs from the sides of the arena. This will occur every 2 minutes after this point until she dies. These black orbs do not harm players, and will slowly float toward Tantalizer. She summons around 10 or more of them each time she does this and they come from all directions. These orbs have 18.7 million HP and are of the Mutant race.
If the orbs reach Tantalizer, they will stop on top of her and constantly give her stacks of a buff called
I AM VERY UPSET!! (yes that’s what it’s called).


If Tantalizer reaches 15 stacks of this buff, at her next available opportunity, she will do a quote across the screen and then immediately annihilate the party. This will remove all of her stacks but also kill the entire party no matter where they are.
You must always have a plan in place for when these orbs appear. If your party’s damage is low, you can time important skill cooldowns when they appear in order to kill the orbs as quickly as possible. The orbs only grant her stacks when they are exactly on top of her and are not moving, so they can get relatively close without worry. You can knockback/knockdown and crowd control the orbs in order to get them away from Tantalizer and also prevent them from reaching her. They will not grant her stacks if they are crowd controlled in any way, even if they are on top of her. Another option is to move Tantalizer away from the orbs which will group them up more easily and also give you time to kill them.
These stacks do not expire over time, but as long as you defeat her before she reaches 15 stacks across all the uses of this skill, then there is no worry. If you are not yet comfortable with dealing with the orbs, your Priest should save Revive just in case she reaches 15 stacks. You have plenty of time to cast Revive in response to her reaching 15 stacks and it will save everyone from annihilation.
Phase 3: 30% ~ 1%
Tantalizer will stop using Polarity at 35% and add one new attack to deal with.
?% HP: Lightning Dash

Tantalizer will hold her sword forwards and then cover the ground in front of her in a line with red AoE indicators. She will then dash forward and green lightning will rain down on all the locations telegraphed. She will often repeat this 2-3 times.
This attack does a very high amount of damage and can even kill a tank. It has a wind-up to it alongside telegraphs on the ground. It should be avoided at all costs.
Conclusion

This fight is all about handling everything at once while still positioning correctly. Everything added onto each other becomes a lot to deal with while also trying to damage Tantalizer. Because a few of her mechanics (such as the black orbs) occur based on time, you must DPS at a relatively good pace in order to keep dealing damage to Tantalizer and avoid being overwhelmed.
When Tantalizer reaches 2% HP, she will die. You have as much time as you want to buff, heal, and rest, before advancing forward into the gate to fight Moringponia. Keep in mind that there is still a 30 minute time limit across the entire raid, so don’t spend too much time.
You should aim to have zero deaths against Tantalizer. You will need as many resurrects and Soul Crystals available as possible to have the best shot at defeating Moringponia, and losing buffs can be crippling. The gate blocking the entrance to the fight behind you will also disappear, so it’s possible for members to rejoin the area if they had left for some reason or another.
Finally, remember that if your party is defeated by Moringponia and leaves the raid, you must defeat Tantalizer again.
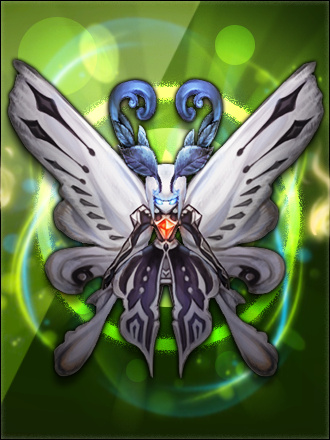
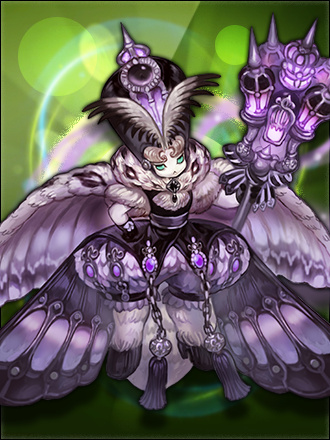
Moringponia

Moringponia is not split into phases, but has a large number of HP breakpoints to determine when she will do her mechanics. Because she has so many, there are times you may want to slow down DPS and handle mechanics as they appear. Causing too many things to happen at once will make them impossible to deal with, so take your time and deal with mechanics before pushing her HP further unless you’re comfortable.
I will first cover the general mechanics that will persist throughout the entire fight. Afterwards, I will go through the mechanics in the order they appear, along with the HP % that it will first occur at. All mechanics will repeat multiple times throughout the fight. Finally, I will give the entire list of HP %'s she will use her attacks.
Normal Attacks
Moringponia consists of a variety of attacks that she will just do on a regular basis, but there are a couple that you have to specifically watch out for.
The first thing she will always do upon entering the fight (and will repeat as time goes on) is begin flying around and placing an extreme number of AoE circles on the ground. These don’t do too much damage, but if you are hit, you will be inflicted with Confusion which will reverse your movement controls. The telegraphs will cascade and disappear before the AoEs even finish resolving. Pay attention to where they appeared and just move to a safe spot where an AoE circle has never appeared, and you will avoid the attack entirely.
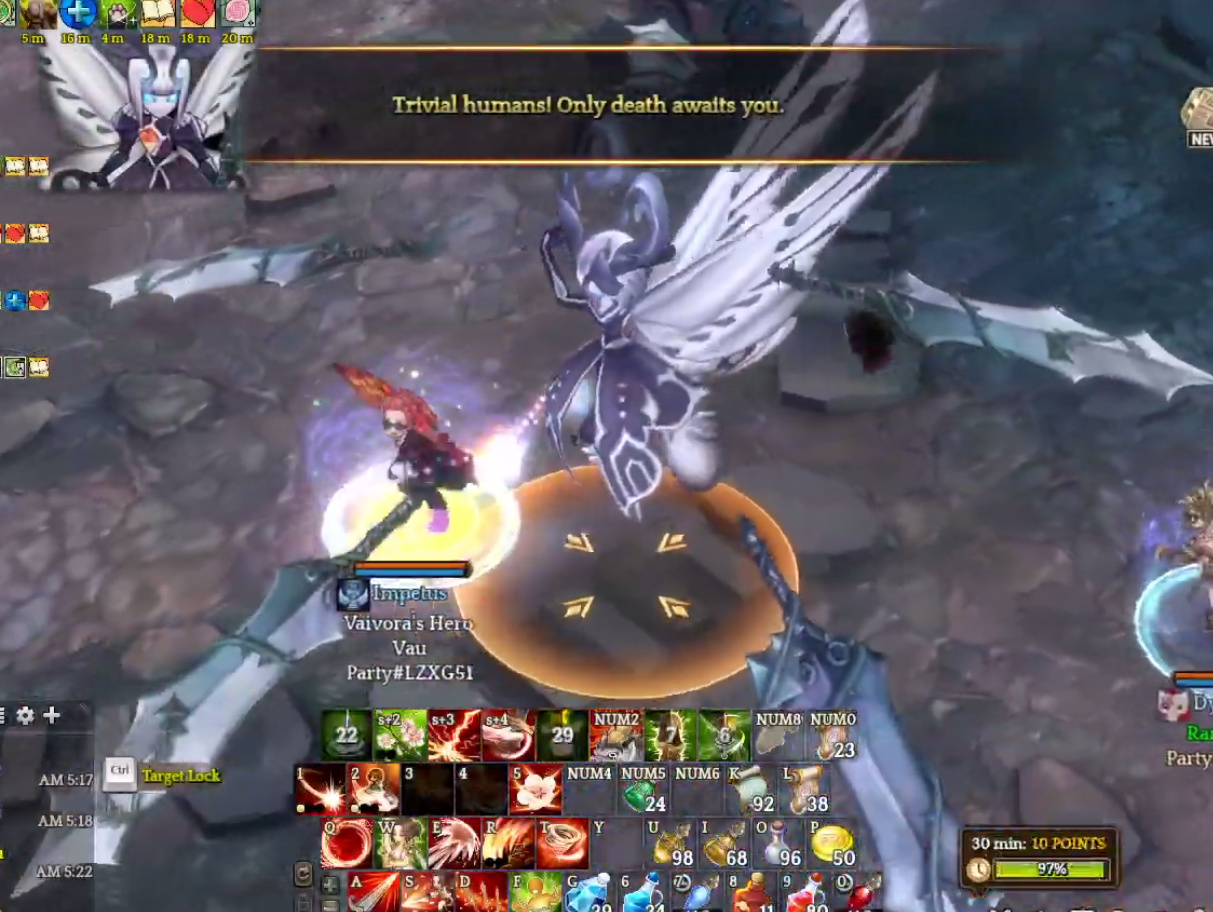
Another attack she consistently uses throughout the fight is a slam. She will create an AoE red circle telegraph on every member of the raid, and one second later, a mirage image of herself will appear and slam that spot. If you are hit, the damage is small, but you will be stunned. This causes problems for dealing with mechanics, however, if she stunned someone, she will target them and immediately follow up with 1-2 dash attacks. This dash attack can be avoided if you are far enough away, but it deals very high damage and can kill people from even full HP if they do not have sufficient defenses.
Poison

Upon entering the fight, every player gains a buff called Poison Immunity. This buff has 99 stacks. As you fight Moringponia, she has a variety of mechanics that will remove stacks of Poison Immunity if they are not handled correctly.
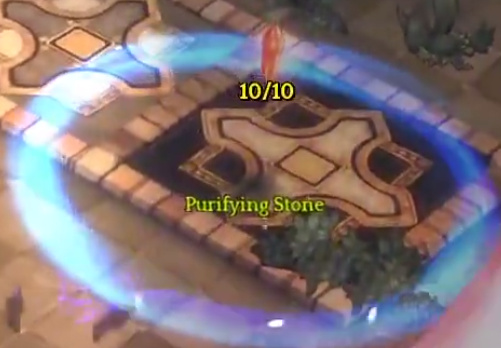
In the middle of the arena, there are two circles, spaced out north and south. These have a number counter on them. After 1 minute, they will begin counting down from 10/10, to 9/10, 8/10, etc. From numbers 9-4 the circles will turn green to signify they are not at 10, and from 3-1, they will turn red.
While the circle is in red (3-1 count remaining), the circle will pulse out poison across the entire arena every 5 seconds, removing 2 Poison Immunity stacks from every player. If both circles are in red, every player will lose 4 stacks. If you do not have any Poison Immunity stacks, you will instead take damage over time and gain a stacking Poison debuff that deals more and more damage. After reaching a certain amount of stacks, deadly poison will pulse through the entire room and kill everyone.
If a player stands in this circle, the circle will begin counting back up instead of counting down. When it reaches 10/10, the circle will turn blue and it will be locked at 10/10 for 1 minute. The player standing in the circle will lose Poison Immunity stacks in order to build the count back up, and you will lose stacks even if the count is at 10/10 on the crystal, so do not stand in it unless you are building it up. If you step into it as soon as it reaches 9/10 or 8/10, you can swiftly bring it back to 10/10 while losing a minimal amount of stacks, so it’s ideal to respond it quickly. If you do not have any Poison Immunity stacks, you cannot build the count on the crystal back up.
This mechanic is persistent throughout the entire fight. No matter what mechanics are occurring, players must keep a watch on these two circles and prevent them from dropping too low. The sooner you respond to them and get them back to 10/10, the sooner they will lock to 10/10 and you can continue dealing with the raid as usual. You can assign specific individuals to handle them or everyone can keep an eye on them. Remember that building the count back up on these will cost Poison Immunity stacks, so if the same person continues to handle it, they may run out of stacks which will prevent them from fixing the crystals any further. Having no Poison Immunity stacks remaining causes any failed mechanic that would forcefully remove Poison Stacks to become dangerous or lethal.
95.99% HP: Big Black Griba
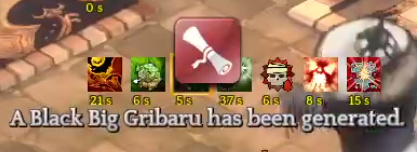

Once she reaches 95.99% HP, she will summon a blue portal in a random spot of the arena. After a few seconds, a Big Black Griba will emerge and move to attack players.
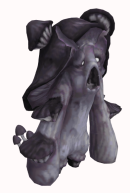
As the fight goes on, more than 1 of these will appear out of one portal. They run around and do standard punch attacks, and upon being defeated, they will split into multiple Mini Gribas. These Mini Gribas will explode in green gas upon death, removing 1 Poison Immunity stack from anyone nearby them. This is not a persistent cloud, but rather just an instant removal of 1 stack.
A single griba is not much to worry about, however, she will consistently summon these throughout the fight based on her HP % and they do not go away unless killed. As a result, it’s not an extreme priority for them to die, but it’s important to get rid of them so you don’t have too many gribas running around and killing people. Finally, when they do die, be sure to get away before killing the miniature versions.
Moringponia will never use Watch (upcoming mechanic) while summoning Big Black Gribas.
94.99% HP: Swap


Moringponia forms a cast bar above her head and casts Swap. She will target a random player, sometimes telegraphed with a purple curse icon above their head, and will exchange locations with that player. They will appear where she was and she will go to where they were.
After being swapped. a large grey gas cloud will appear around the location the player appeared at. Any player that is in this cloud after 1 second will become Petrified. Moringponia will then cast a large red AoE circle on that spot and pull any players inside of it close to her, and perform a slow-windup attack that instantly kills anyone hit. The “pull” she uses actually extends in a much larger range than indicated, so try not to be anywhere near her.
When Swap occurs, everyone should get away from Moringponia, as the gas cloud will always appear where she was standing (as she warps a random player on top of that spot). The player that gets chosen should get out of the area as soon as they can, preferably using a movement skill like Leap or Teleport. If a player does get petrified and pulled in, they will die, so you can use something like Revive to save them if you have it.
92.99% HP: Blind

Upon reaching this HP, Moringponia will immediately inflict everyone with Blind. A red portal will appear in a random location around the sides of the arena. After a short time, a Rytaswort boss monster will appear with 90.3 million HP and begin casting a 15 second skill. If you do not defeat the Rytaswort in time, it will deal 150,000 fixed damage to every player, remove 20 Poison Immunity stacks, and then disappear.
It’s important for players to split up and find the portal quickly, then communicate where it is. The red portal will prematurely spawn the Rytaswort upon being touched, so if all players are not in place to defeat the monster, don’t touch the portal until they’re ready. Touching the portal will remove the Blind, and so will defeating the Rytaswort.
Because of its high HP value, it may be important to time skill cooldowns with the Blind mechanic occurring to ensure you defeat the Rytaswort in time. You really should not ever have it cast the skill, as losing 20 stacks of Poison Immunity can be crippling to the run, and people may die from the damage it deals as well.
87.99% HP: Raise
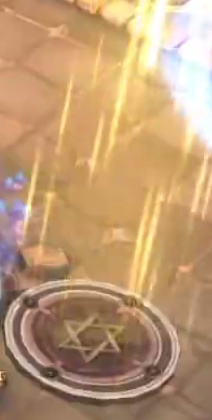
Moringponia will spawn multiple circles as seen above around the middle of the arena. After a few seconds, she will cast Raise. Any player that is not in one of these small circles will be raised into the air and slammed down. This causes the player to lose 10 Poison Immunity stacks. If you do not have any stacks, you will die. You cannot share a circle with another player.
It’s important to be somewhat near the middle when Raise is coming up so you can get in a circle in time. Getting Raised once or twice isn’t a big deal, but as this mechanic occurs multiple times, you cannot afford to lose too many Poison Immunity stacks.
80.99% HP: Curse
This is one of the two most deadly mechanics in this raid, and must be dealt with very carefully.
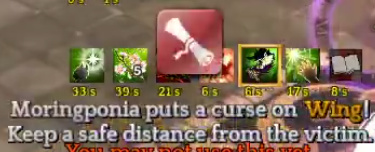
Moringponia will call out a random person to be the target of a curse. After only a few seconds, a purple ring will form around that person on the ground and will not move. If the player leaves the ring, or 5 seconds pass, they and anyone else nearby will instantly die. However, if another player is inside the ring before this happens, the player will instead only take some damage, and the curse will transfer to the other player.
The goal here is to transfer the curse 4 times through the players that are not tanking Moringponia. After transferring the curse between everyone, the curse will not kill the last person. The curse deals more damage every time it transfers (15%, 30%, 45%, 60% of max HP) and the ring increases in size.
The party must be in a decent position, ideally away from Moringponia, and spread out before the curse begins in order to transfer it carefully. You can assign an order ahead of time to soak the curse or do it based on proximity; ideally whatever is most comfortable for your party. Because the first curse will always apply to a random person, the order will begin at a random person, so it’s important for players to remember who they are taking the curse from, and then go in order.
This is a difficult mechanic that KR players originally ignored by using Weltbaum from Pied Piper, as it blocked the damage from the curse and kept you alive, but this was patched and no longer works. An alternative strategy is to have whoever gets targeted by the curse simply run off by themselves and die, as dying removes the curse entirely and resolves the mechanic. It is not uncommon for KR players to bring multiple priests in order to rotate Revive to simply ignore every curse phase, rather than do it properly, but keep in mind that the fight has a time limit and multiple “soft enrage” mechanics. You cannot forsake too much DPS or you will die or not defeat Moringponia in time.
79.99% HP: Watch
Moringponia will call out the name of a random person. After a few seconds, Moringponia will begin throwing purple flames at that player. These flames will linger on the ground for a very long time, but not forever, dealing high damage to anyone inside them. She will throw 6 patches of purple flame before stopping, one second apart from each other, and will repeat this again every 75 seconds. If a player being watched touches another player, she will change targets in the middle of throwing and start throwing them at the other player instead.
The player that is being watched needs to get away from the middle of the arena, preferably moving to the sides of the arena and placing the flames along the wall in a safe space. If the flames are placed in the rings of the crystals near the middle, it can become difficult or impossible to keep their counts from going low, so it’s imperative that you do not place them there. Because Watch occurs at a specific HP % and then is on a timer, you can always know when it’s going to happen, so being in position ahead of time in case you are targeted is ideal.
Any player can be targeted, and there have been cases where she switches target for seemingly no reason, so players must be ready to place the flames in a safe location. Having a timer to track when Watch will trigger is helpful. Moringponia will stop summoning Big Black Gribas while using Watch, and the two can never be happening at the same time.
74.99%: Mutation


This is the other of the two very deadly mechanics in this raid. It must be handled carefully.
Moringponia will transform all players except the one tanking her into a moth. As a moth, your hotbar will change into 3 buttons.
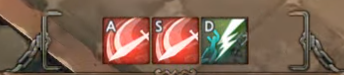
The only button that does anything is the second button, S. If you walk up to another player who is a moth and use the skill, the other player will be cleansed and will no longer be a moth. Once there is only 1 moth remaining, they will automatically also be cleansed, and the mechanic will be resolved. Mutation lasts 15 seconds, and the S skill can only be used once.
If you do not remove Mutation from a player before the 15 seconds are up, they will be cleansed, however, they will be inflicted with Free-for-All. This changes your faction to an enemy, causes you to take double damage from players, and any players that are not inflicted the debuff can now attack you. You cannot be targeted by any support skills (Heal, Revive, etc) while not on the same faction as the other players. This effect is absolutely permanent for the entire rest of the fight and does not end even if the player dies.
It is absolutely imperative that this is handled correctly due to the penalty lasting forever. Mutation occurs multiple times throughout the fight, and if failed early on, then the raid is basically over. Every Mutation she performs except the last is preceded by a Raise which spreads players out to find safety circles, so it’s important to handle the Raise, then quickly get in position to handle Mutation. The tank will never get mutated, so they should keep Moringponia a fair distance away from the moths, as her stun, dash, knockbacks, and other attacks can cause massive interference for people trying to cleanse each other, and you are on a short time limit to resolve the mechanic.
There are multiple strategies to deal with this, but the common accepted strategy is to assign an order. Players each get a number, 1 through 4, and will cleanse each other in the order assigned. The player that is being cleansed does not move, and the player who is performing the cleanse will walk up and use it to save them. This is important to ensure it does not miss, because you only have one chance to use the skill, and then it enters cooldown.
An example of how to handle it this way:
Players 1, 2, 3, 4
Player 2 cures Player 1
Player 3 cures Player 2
Player 4 cures Player 3
Player 4 is automatically cured as they are the final moth.
As you are a moth, you cannot tell each other apart by looks, only by name. You can use the !! command to assign a number above everyone’s head and do the above strategy, or simply go in order in a line based on position. Whatever strategy you choose, everyone must be on the same page and cannot move too much, nor waste their cleanse, as a faction change occurring will doom the raid.
Once a player is cleansed, they can return to Moringponia, as they have no further interaction with the mechanic. Some iterations of Mutation immediately follow up with another nasty mechanic right afterward, so it is often a good idea to simply wait until Mutation is fully resolved before damaging Moringponia any further, including the tank.
Mechanic List
These are all the mechanics that occur while fighting Moringponia. From here on out, all of the above will repeat in a set order at specific HP percentages, and they will order and time themselves in increasingly dangerous ways. It is important to keep your DPS in check if mechanics are still happening and you are not comfortable with handling another, all the while still handling the two crystals in the middle of the arena.
This is the full list of her mechanics and the HP % she will perform them at.
95.99% Big Griba

94.99% Swap

92.99% Blind + Rytaswort

87.99% Raise + Swap after

80.99% Curse
-------↓Watch↓-------
79.99% Watch

74.99% Raise then Mutation

70.99% Blind + Rytaswort

65.99% Curse

59.99% Raise + Mutation
-------↓Griba↓-------
50.99% Big Griba

49.99% Raise

45.99% Blind + Rytaswort

35.99% Curse

34.99% Raise

27.99% Swap
-------↓Watch↓-------
19.99% Watch

19.99% Raise then Mutation

18.99% Curse

15.99% Blind + Rytaswort (except for the person being watched)

9.99% Mutation (No Raise) & Swap

8.99% Curse

7.99% Raise
Conclusion

This is definitely the most difficult raid they have introduced yet. It took KR over a day to get the first clear because they were struggling to understand some of the more difficult mechanics like Curse and Mutation, and even then didn’t fully understand it after clearing. The fight imposes a fair DPS requirement along with many difficult mechanics, so you definitely deserve a huge congratulations if you manage to clear!
If I got anything wrong, or if you have questions, feel free to ask below. I hope it helps!